Best Mascara for Long, Straight Lashes
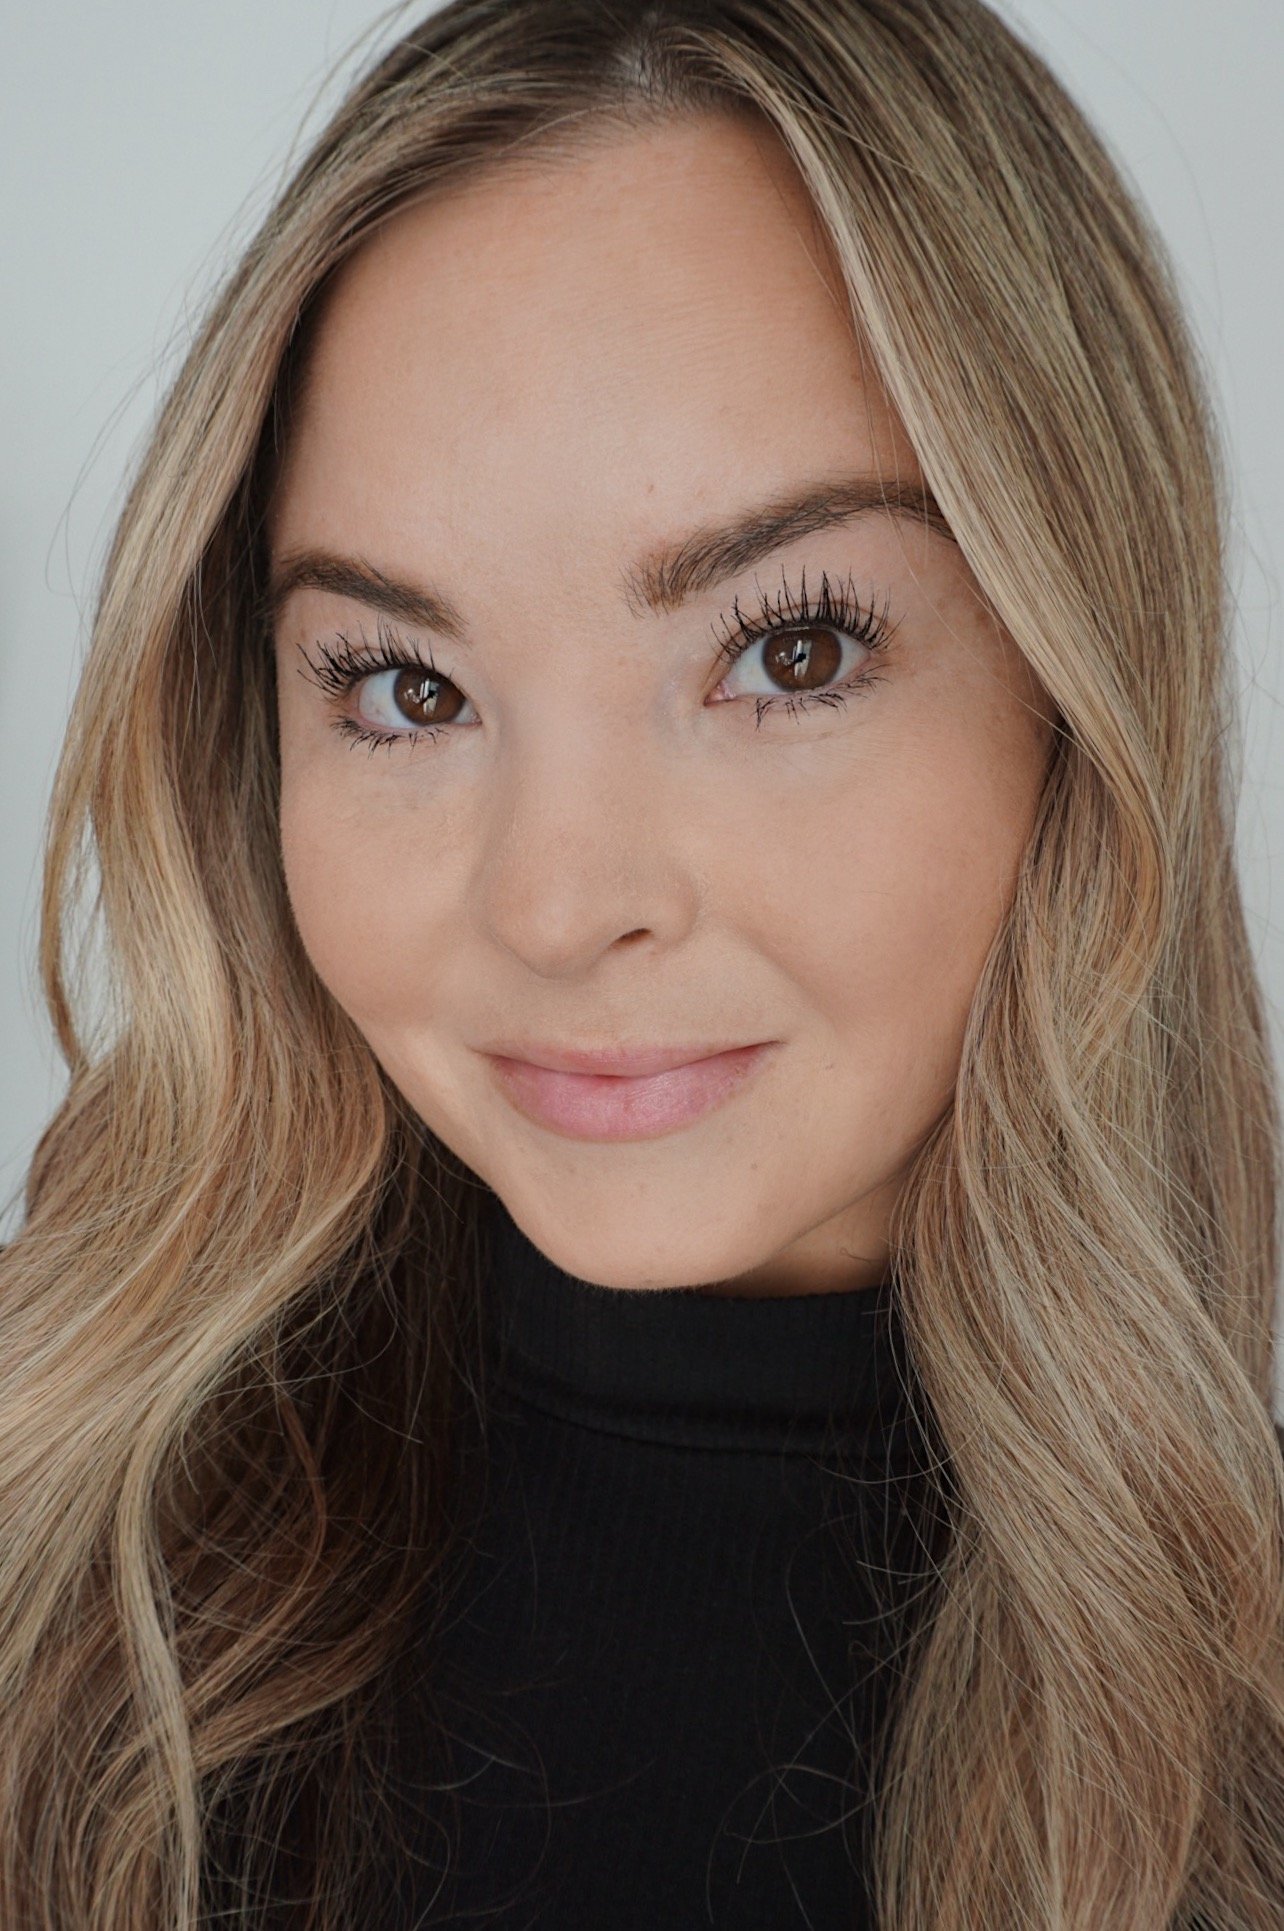
Today I wanted to share the products I use to curl my long, straight lashes. I’ve tried everything from high end to drugstore, looking for a mascara that will help my straight lashes hold a curl. I also want my mascara to be a drier formula, since wet formulas tend to clump. That being said, I don’t want a mascara that flakes or smudges, especially during a workout. My eyes are sensitive, and I’m prone to migraines, so I don’t want anything that feels too heavy. That being said, I finally found the perfect mascara (and eyelash curler) so keep reading for my top picks.
best mascara for long, straight lashes
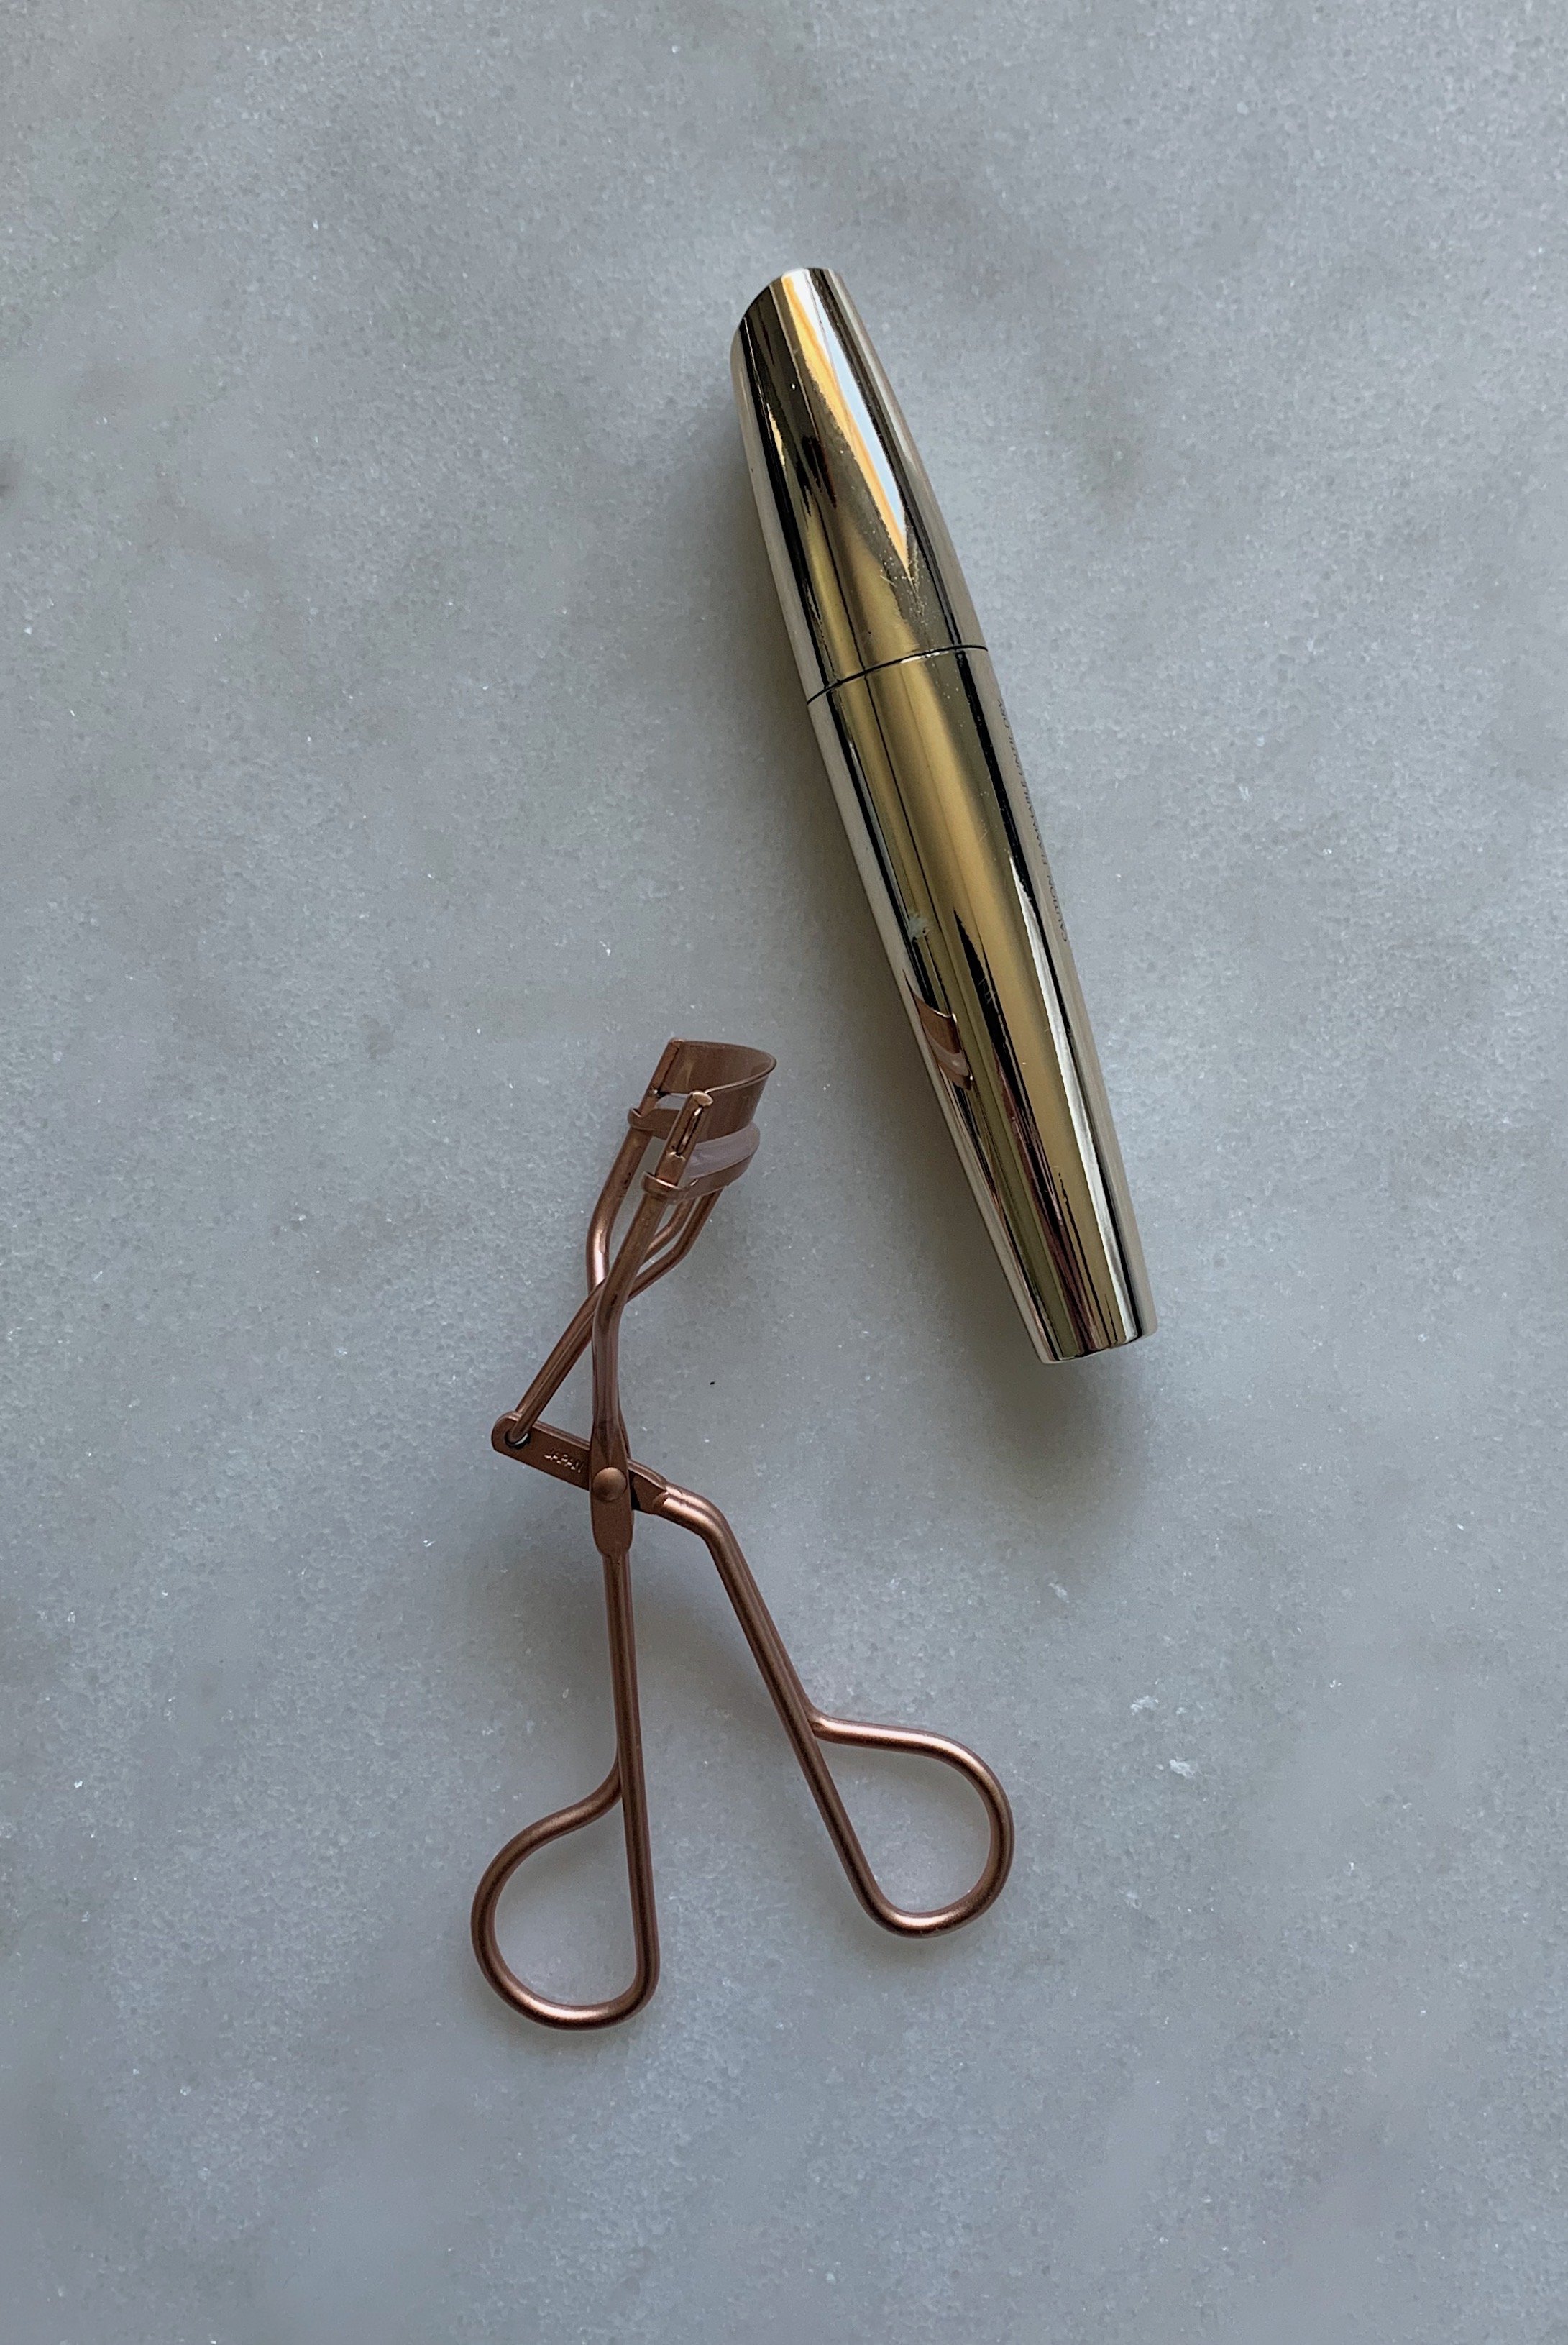
After a lot of testing, I’ve found that I can’t live without this mascara. The price point can’t be beat, and I love that it’s waterproof without being too hard to remove later. It doesn’t smudge, flake, or run, but the formula doesn’t feel heavy or too dry or wet on your lashes, either. This mascara has a drier formula, but it doesn’t feel dry on my eyes. It also doesn’t irritate them, no matter how many coats I use. I can get away with around 3 coats before it starts to clump, which I’m happy with, especially since you get great results with just 2 results (1 coat for a more subtle look).
Finding the right mascara is only half of it, though. It’s also important to find the right eyelash curler for your eye shape, as you want to be able to get all of your lashes from one corner to the other to fit in the curler without pinching or being tight. Everyone has a different eye shape, so it’s worth it to test a few different ones until you find the one that works for you. I love the Tweezerman Classic Lash Curler in Rose Gold for my almond eyes, but I’ve heard great things about the Shisedo one, too. My eyelash curler isn’t particularly expensive, and to make the most of it, I change the pad out every 2-3 months; I just set a reminder in my phone and it’s one less thing I have to keep track of.
tips for applying mascara to long, straight lashes
After I do my skincare but before I start my makeup routine, I will curl my lashes. I like to “pump” the curler a few times and hold it for around 20 seconds. The longer I hold the curler, the warmer it gets from my hands and the more dramatic the curl - this also helps it last longer throughout the day. Don’t forget to adjust the curler to fit your eye shape. Rather than holding it straight across, I angle it slightly so that it follows the curve of my eyes - this helps ensure I get every lash.
I start with mascara before the rest of my makeup routine because I find that when I wait until the end of my makeup routine, I don’t give my lashes enough time to dry or set, and that’s what prevents the curl from holding.
Next, apply the thinnest coat of mascara possible. I call this the “crumb coat” base, because you really just want something that will hold and “set” the curl; don’t worry about length or volume yet.
Once your lashes are completely dry, curl them again. It’s sometimes risky curling your lashes after you’ve already applied mascara, but the trick is to make sure your eyelash curler is clean (use a touch of makeup remover and a cotton round to wipe it down if you feel like your lashes are going to stick), and that your lashes are fully dry. Because the first coat is applied before my makeup routine, I’ll typically get about halfway done with my makeup before I curl them again. If you don’t want to use your eyelash curler again, you can use your finger as the warmth will also help press your lashes back into the curl.
Let the curl set, and then when I’m basically done with my makeup (including setting spray), I’ll apply another coat (or two) of mascara to finish the look. Don’t forget bottom mascara, which is always my very last step.
And when it comes to keeping your lashes healthy, be extra careful when you’re removing your mascara (especially since I recommend a waterproof formula). I like to apply a decent amount of makeup remover to a cotton round, then press lightly against my eye and let it sit there for a few seconds. Once I feel like the remover has really broken down the mascara, I’ll wipe lightly, but I find that the press-and-hold method is key for breaking down the mascara and allowing for less tugging/ rubbing to remove everything.

