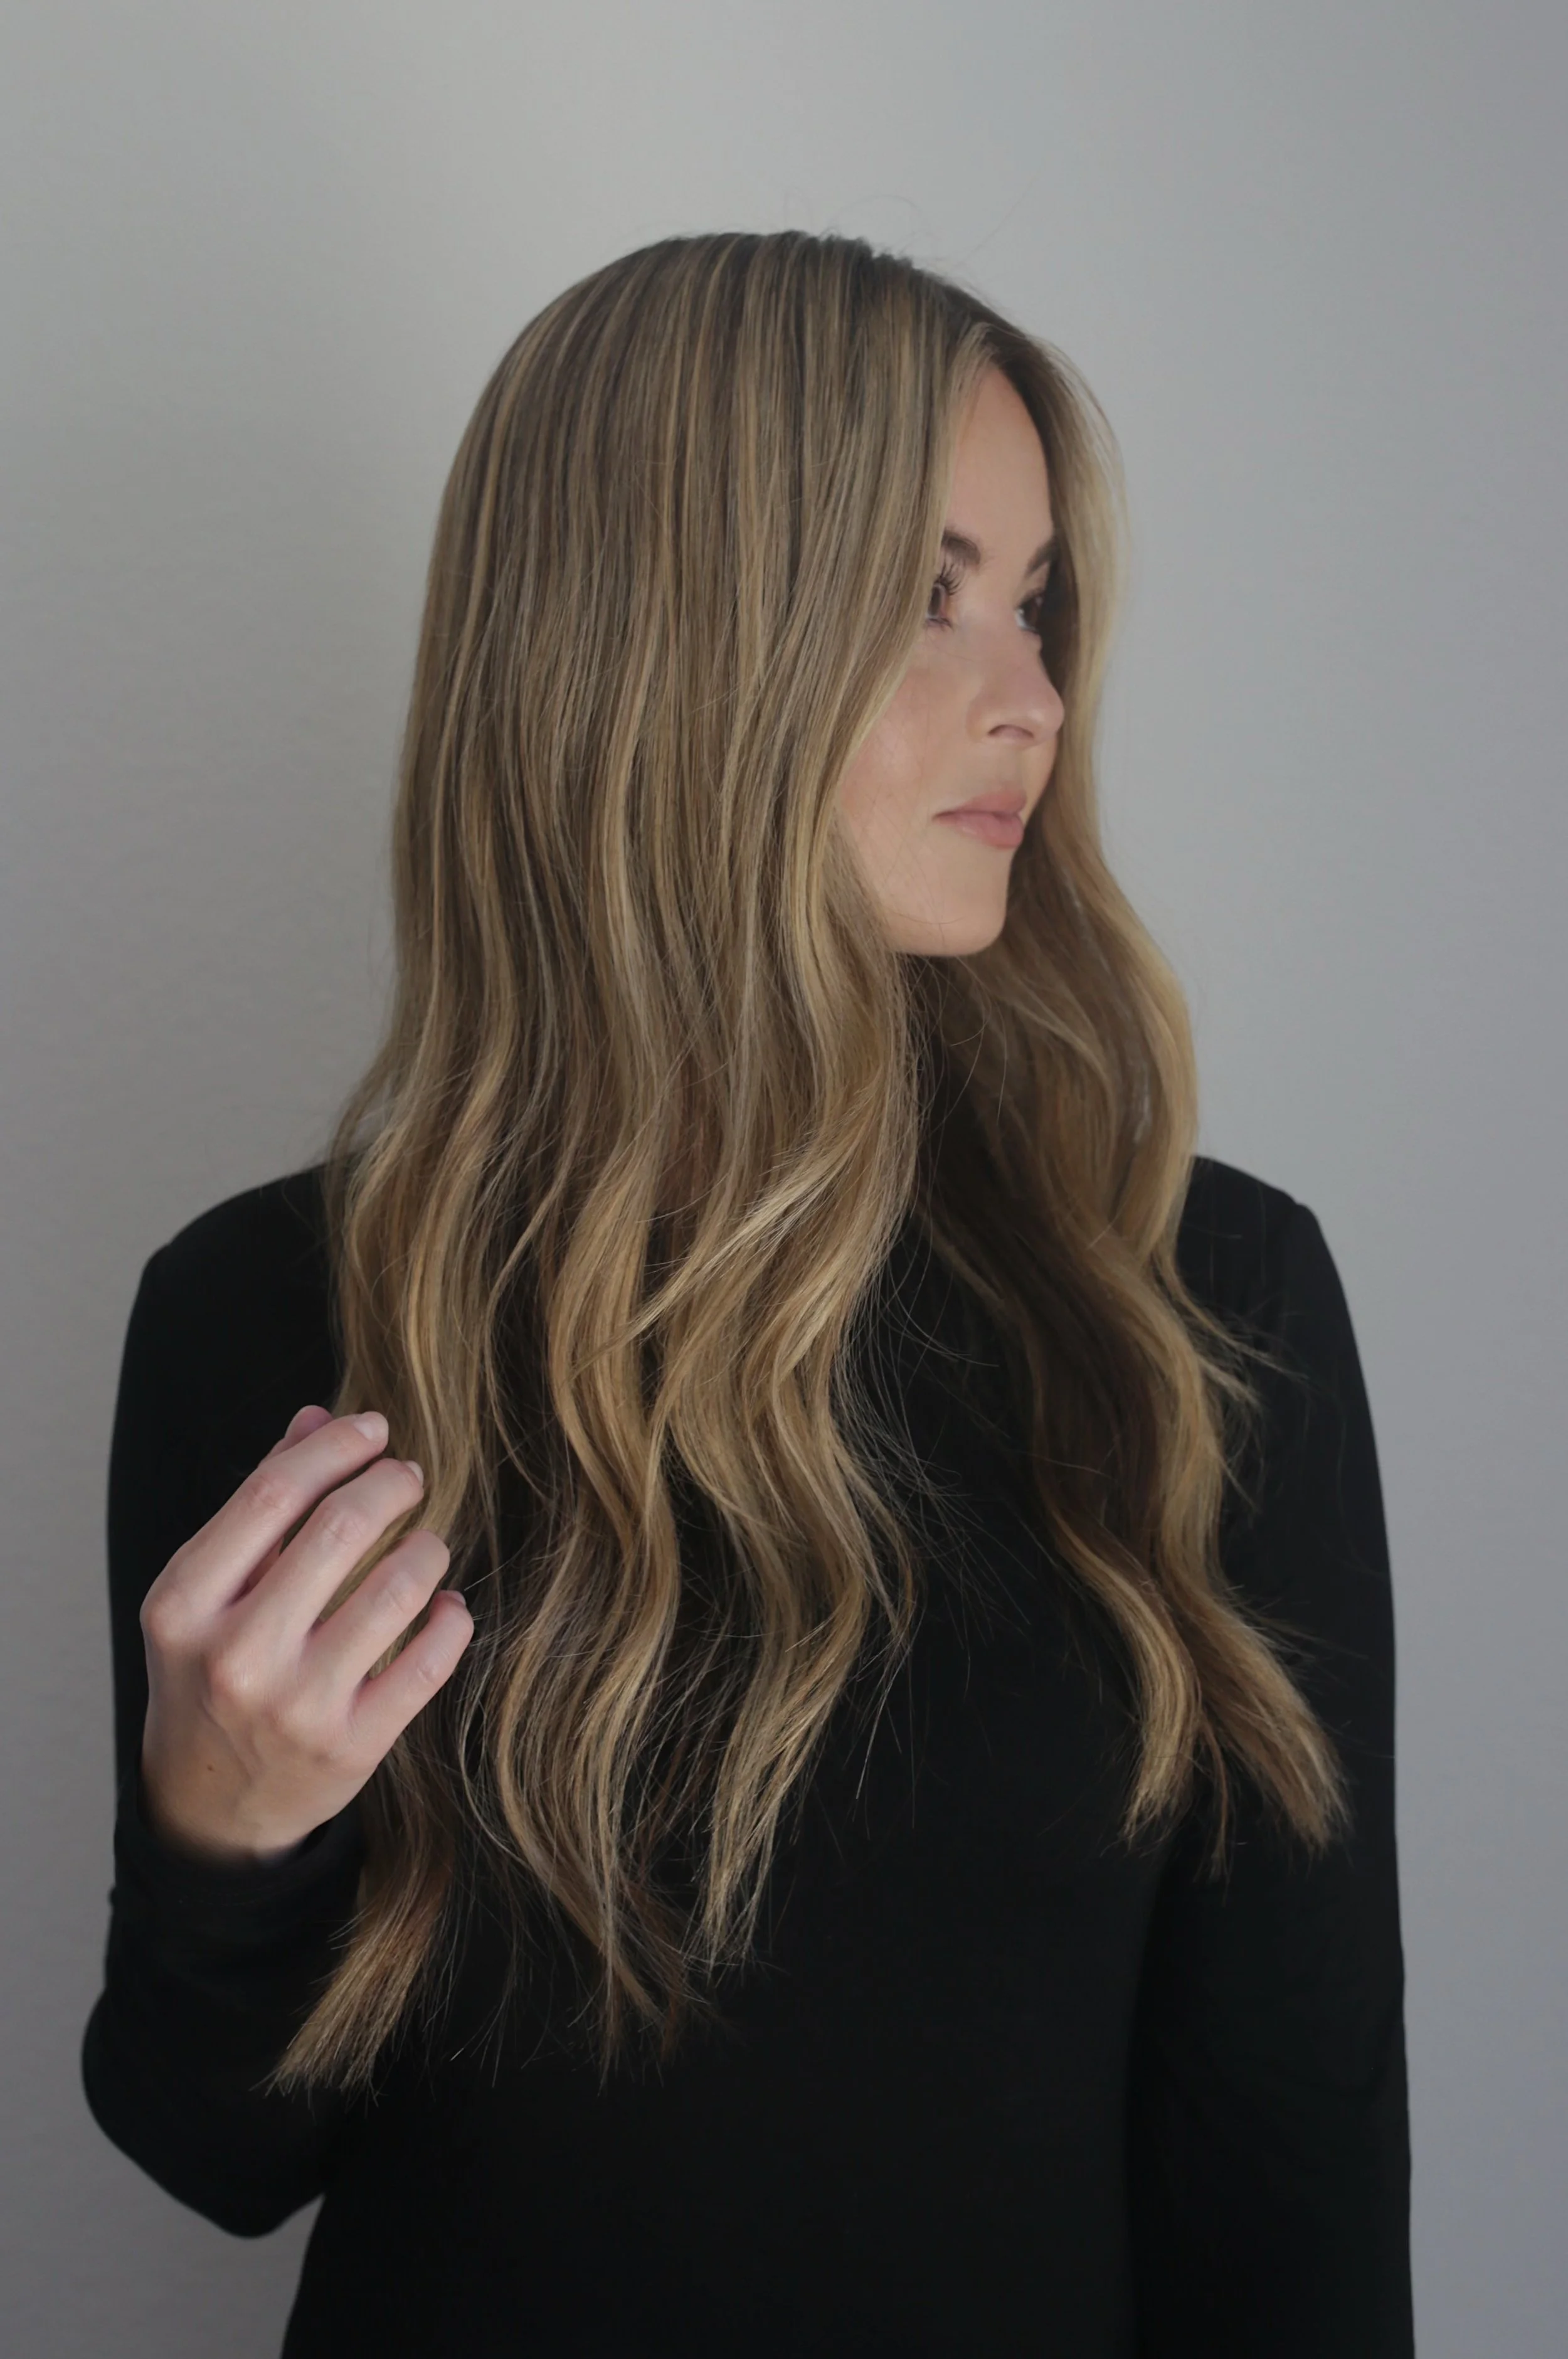
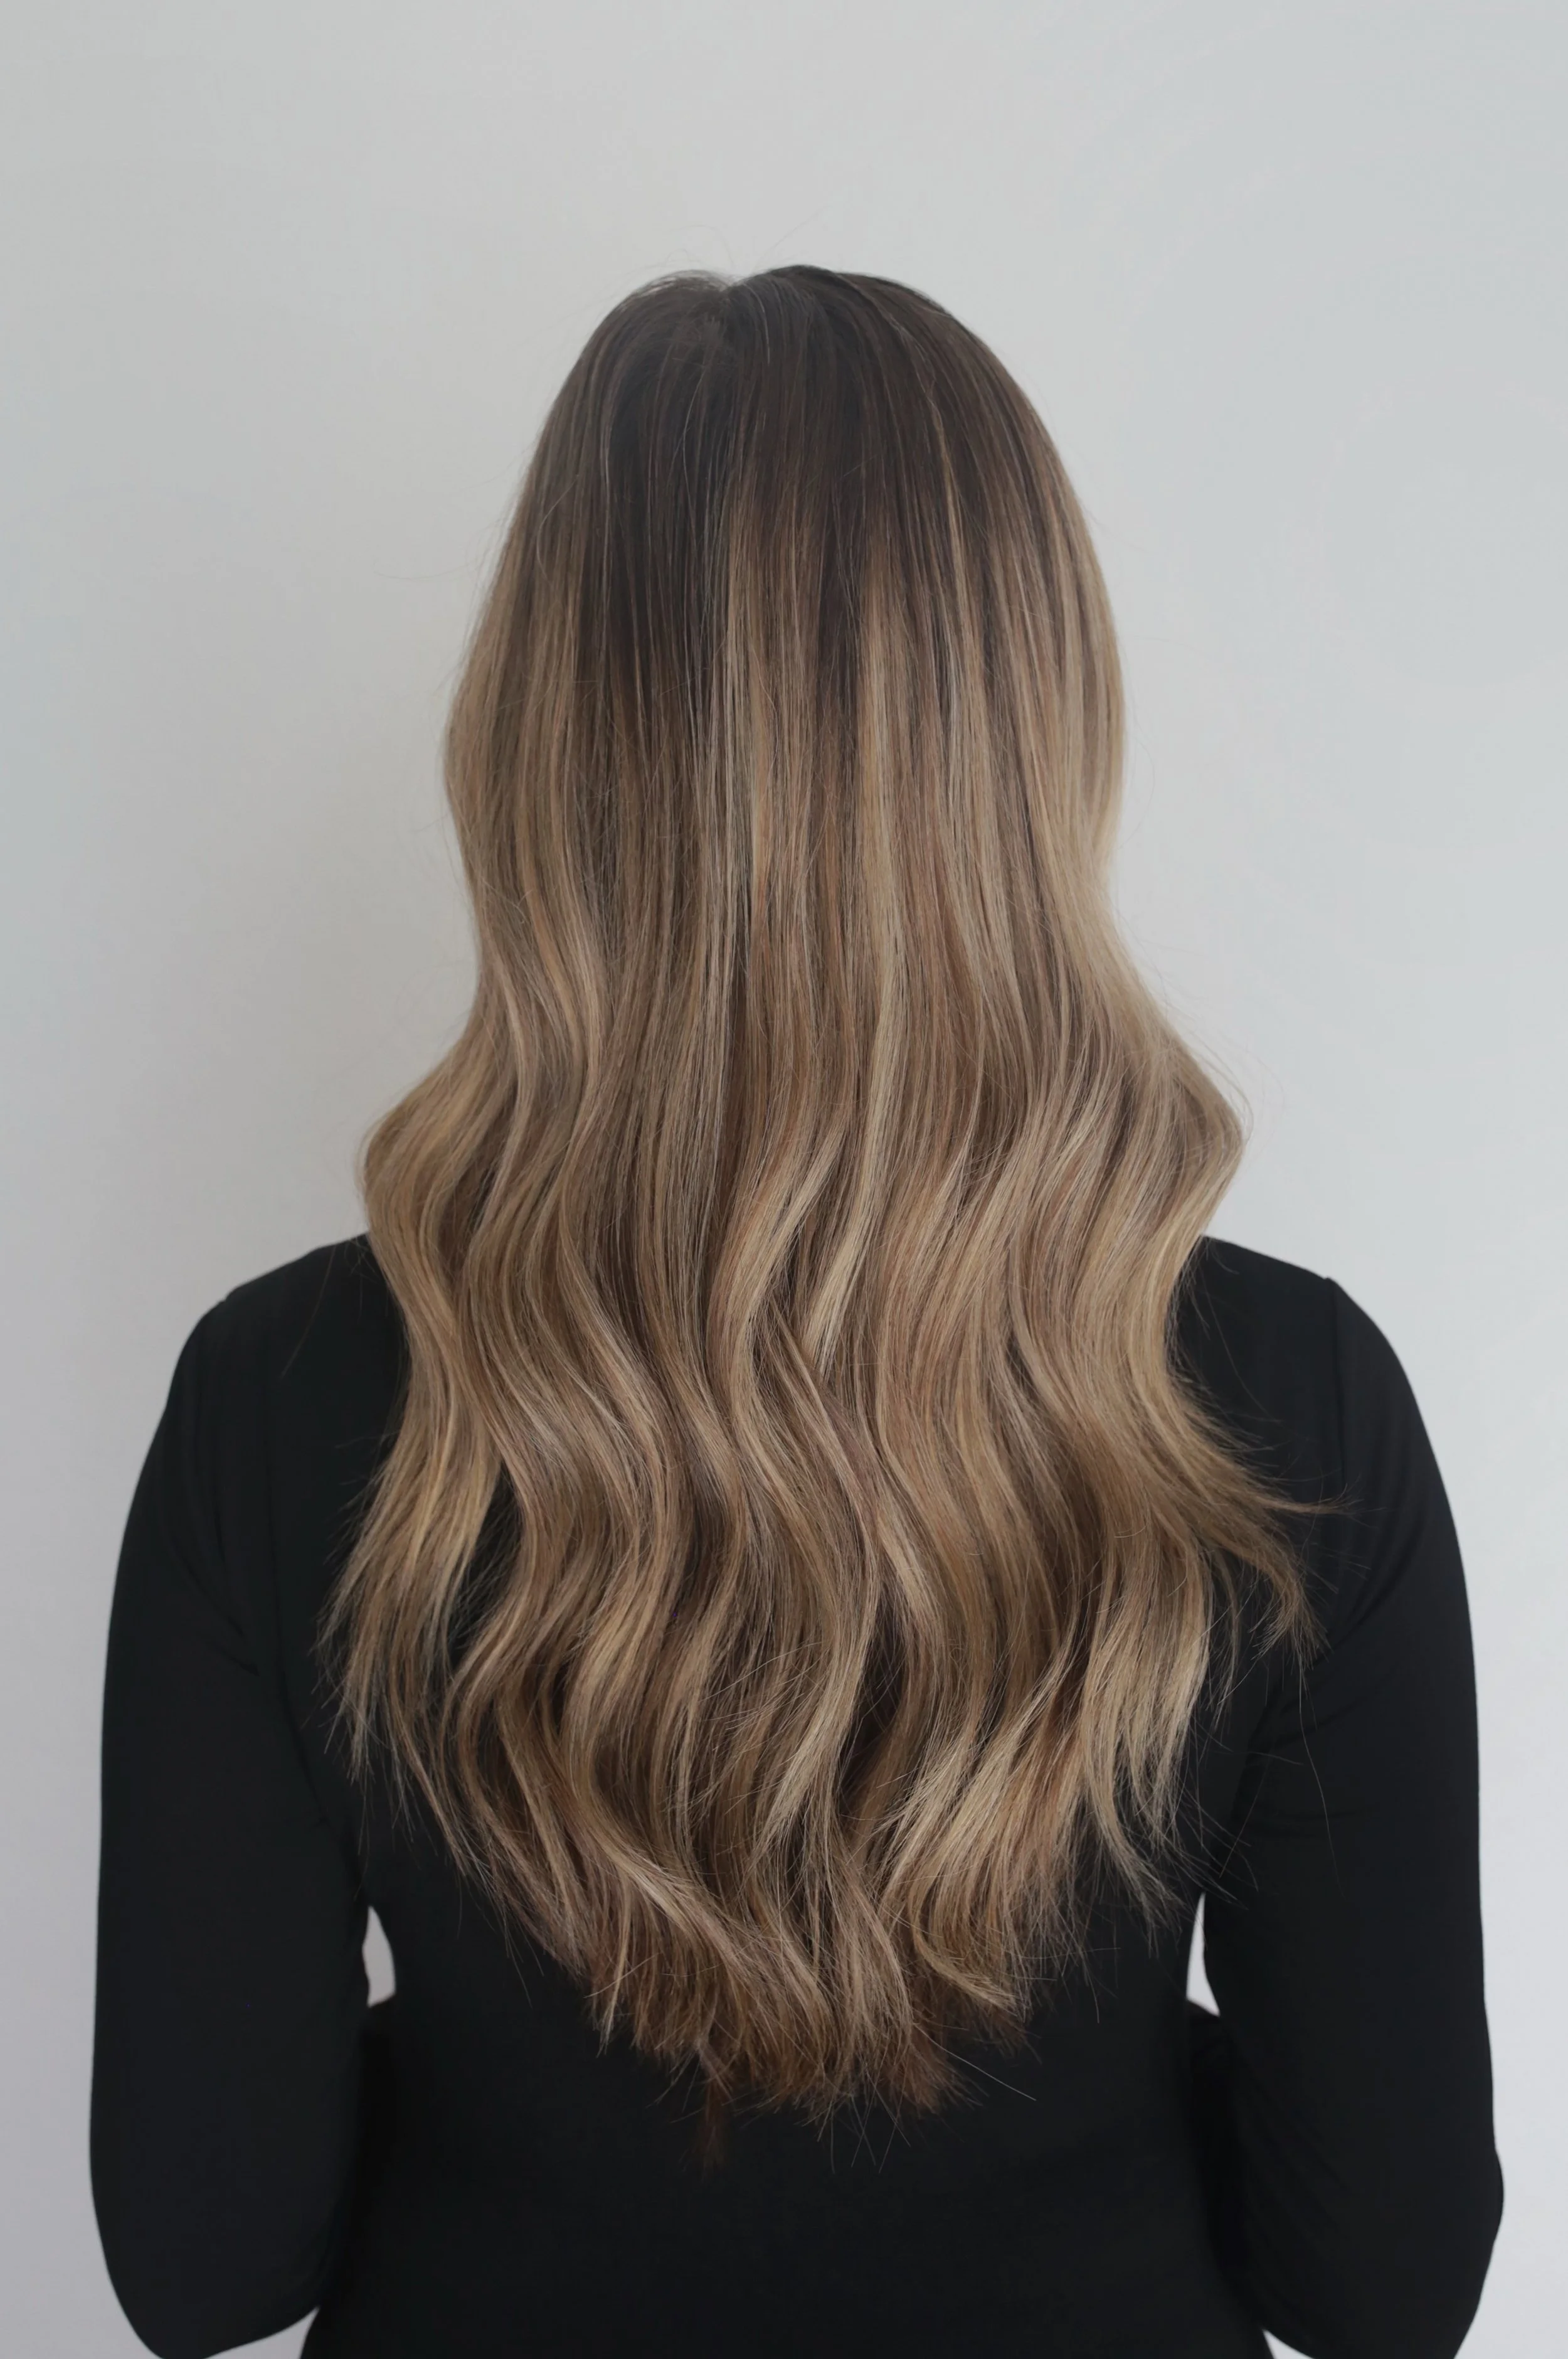
How to Use a Crimper for Beach Waves


As someone with naturally stick-straight hair, I’ve always wanted beachy waves. I’ve bought quite a few crimpers and wavers over the years, but they’ve always made my hair look like I belong on the set of Zenon, not at the beach. My friend and hair stylist Lexi also has naturally straight hair, but has totally mastered the beach wave look. During my last appointment, I asked for her advice and wanted to share it all here, since I know I’m not the only one who has a love-hate relationship with the crimper. For all of the best tips and tricks, keep reading.
the best crimper for beach waves
Full transparency: you do not need a fancy or expensive crimper (or any hot tool, really). I’ve bought crimpers at all price ranges, and the best success truly comes from how you use it, not what you use. My favorite crimper is one I actually borrowed from my mom; it’s the BedHead Wave Artist Deep Waver. It’s less than $25, heats up quickly but doesn’t fry your hair, and the waves last all day without being too crimped. Lexi uses this one and it’s lasted her for over ten years, so it’s a great, reliable option.
Another crimper I really like is the Mane 1.25” Jumbo Hair Waver System. This is a newer model, and I recommend it if you use a variety of curling irons, since you buy the bottom and attachments separately. That might sound like a lot, but it cuts down on the amount of cords you have, which is ideal for travel or if you have smaller storage.


how to use a crimper for beach waves
While crimpers are pretty straight forward and easy to use, there are two main tips that will ensure you get beach waves instead of a crazy 80s, overdone look.
A little pre-tip if you have stick straight hair like me: you might want to use a mousse on damp hair to start. I never use it when I curl my hair, but I find that this mousse helps my hair bend with the crimper without looking too overdone; it basically makes your hair easier to work with. This mousse doesn’t leave any sticky residue, actually feels like nothing in your hair, but helps my hair get (and hold) that beachy look better than when I skip it and go all-natural.
work in vertical sections, not horizontal
Typically, when you curl your hair, you section your hair horizontally (from ear to ear), curling the bottom layer, then the middle, and then the top. You don’t want to section your hair like this when you use a crimper. Instead, use your finger to pull pieces from your part downwards. Even if you have layers or extra thick hair, trust me. This is what gives you light volume without making your hair poofy.
don’t start crimping at the root
As you work in vertical sections, you also don’t need to start at the root for every section (or at all). I prefer to start the crimper at around eye level because I have fine hair that tends to fall flat and starting too high looks unnatural. If you have a natural wave or more volume, you can start higher and follow the natural bend of your hair.
That being said, you won’t want each piece to be the exact same, so it’ll look more natural if you stagger the crimps slightly. It doesn’t have to be precise and don’t get in your head over it, but let go of perfectionism when you’re using a crimper and trust the process.
no matter how stick straight your hair is, move quickly
When I curl my hair, I tend to hold each piece for about 15 seconds to ensure I get a good curl (especially because my hair is stick-straight). You want to do the opposite when you’re using a crimper - maybe 5-10 seconds max. Let your hair warm up; don’t let it get hot. Try to not get caught up in the individual piece because crimpers are really about the big picture instead. Even if a piece looks flat/ straight to you, the end result will overall look more done than you think.
It’s better to then hold the piece of hair at a bend as it cools to get a little more definition than use the crimper longer - this is a mistake I used to make, and making this adjustment has really made such a big difference.
use a curling iron to finish off face-framing pieces
Another trick I learned from Lexi is to use the crimper sparingly around your face. If you have longer layers, you can use the crimper to wave out the ends, but you’ll get a much more natural, beachy look if you use a curling iron to frame your face. Curl the pieces away, and just a light bend will do - you don’t want anything too spiral-y because it will conflict with the rest of the beach waves. Kind of simulate the bend you get from tucking hair behind your ear. Less is more; you don’t want the same definition as when you’re actually curling your hair.
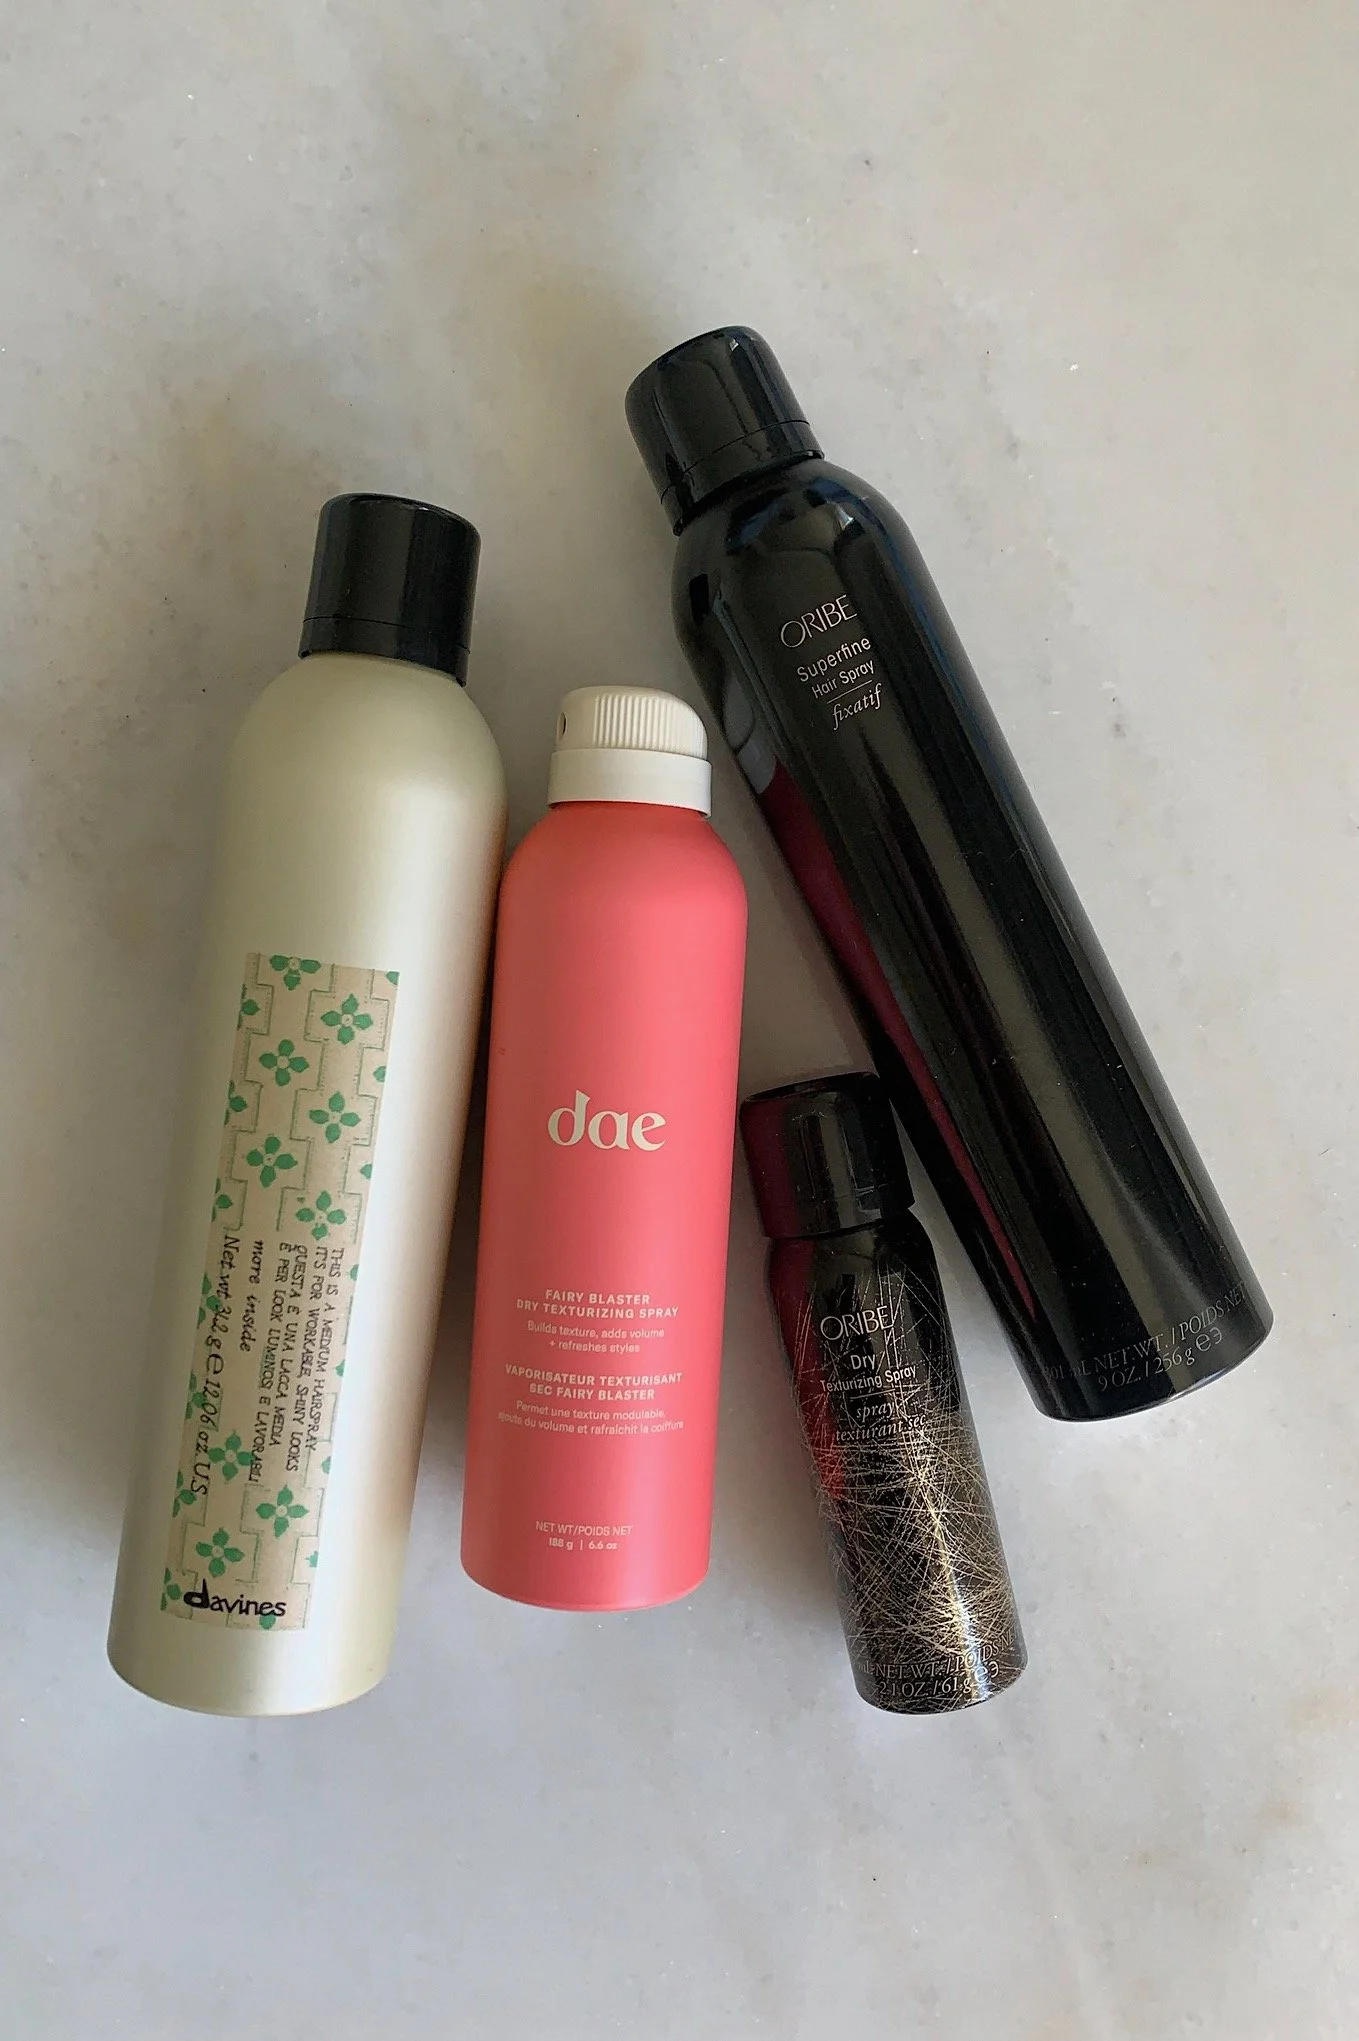
finish with texturizing spray
I typically hate hair spray, but because this is a beachy look, you do want to add a little texture and messiness to your hair to make it a more lived-in look. Lexi used a medium hold hairspray on my hair; I also really like the Dae Hibiscus Spray because it accentuates the crimper waves without making your hair gritty or sticky.