How to Use Dae 3-in-1 Styling Cream
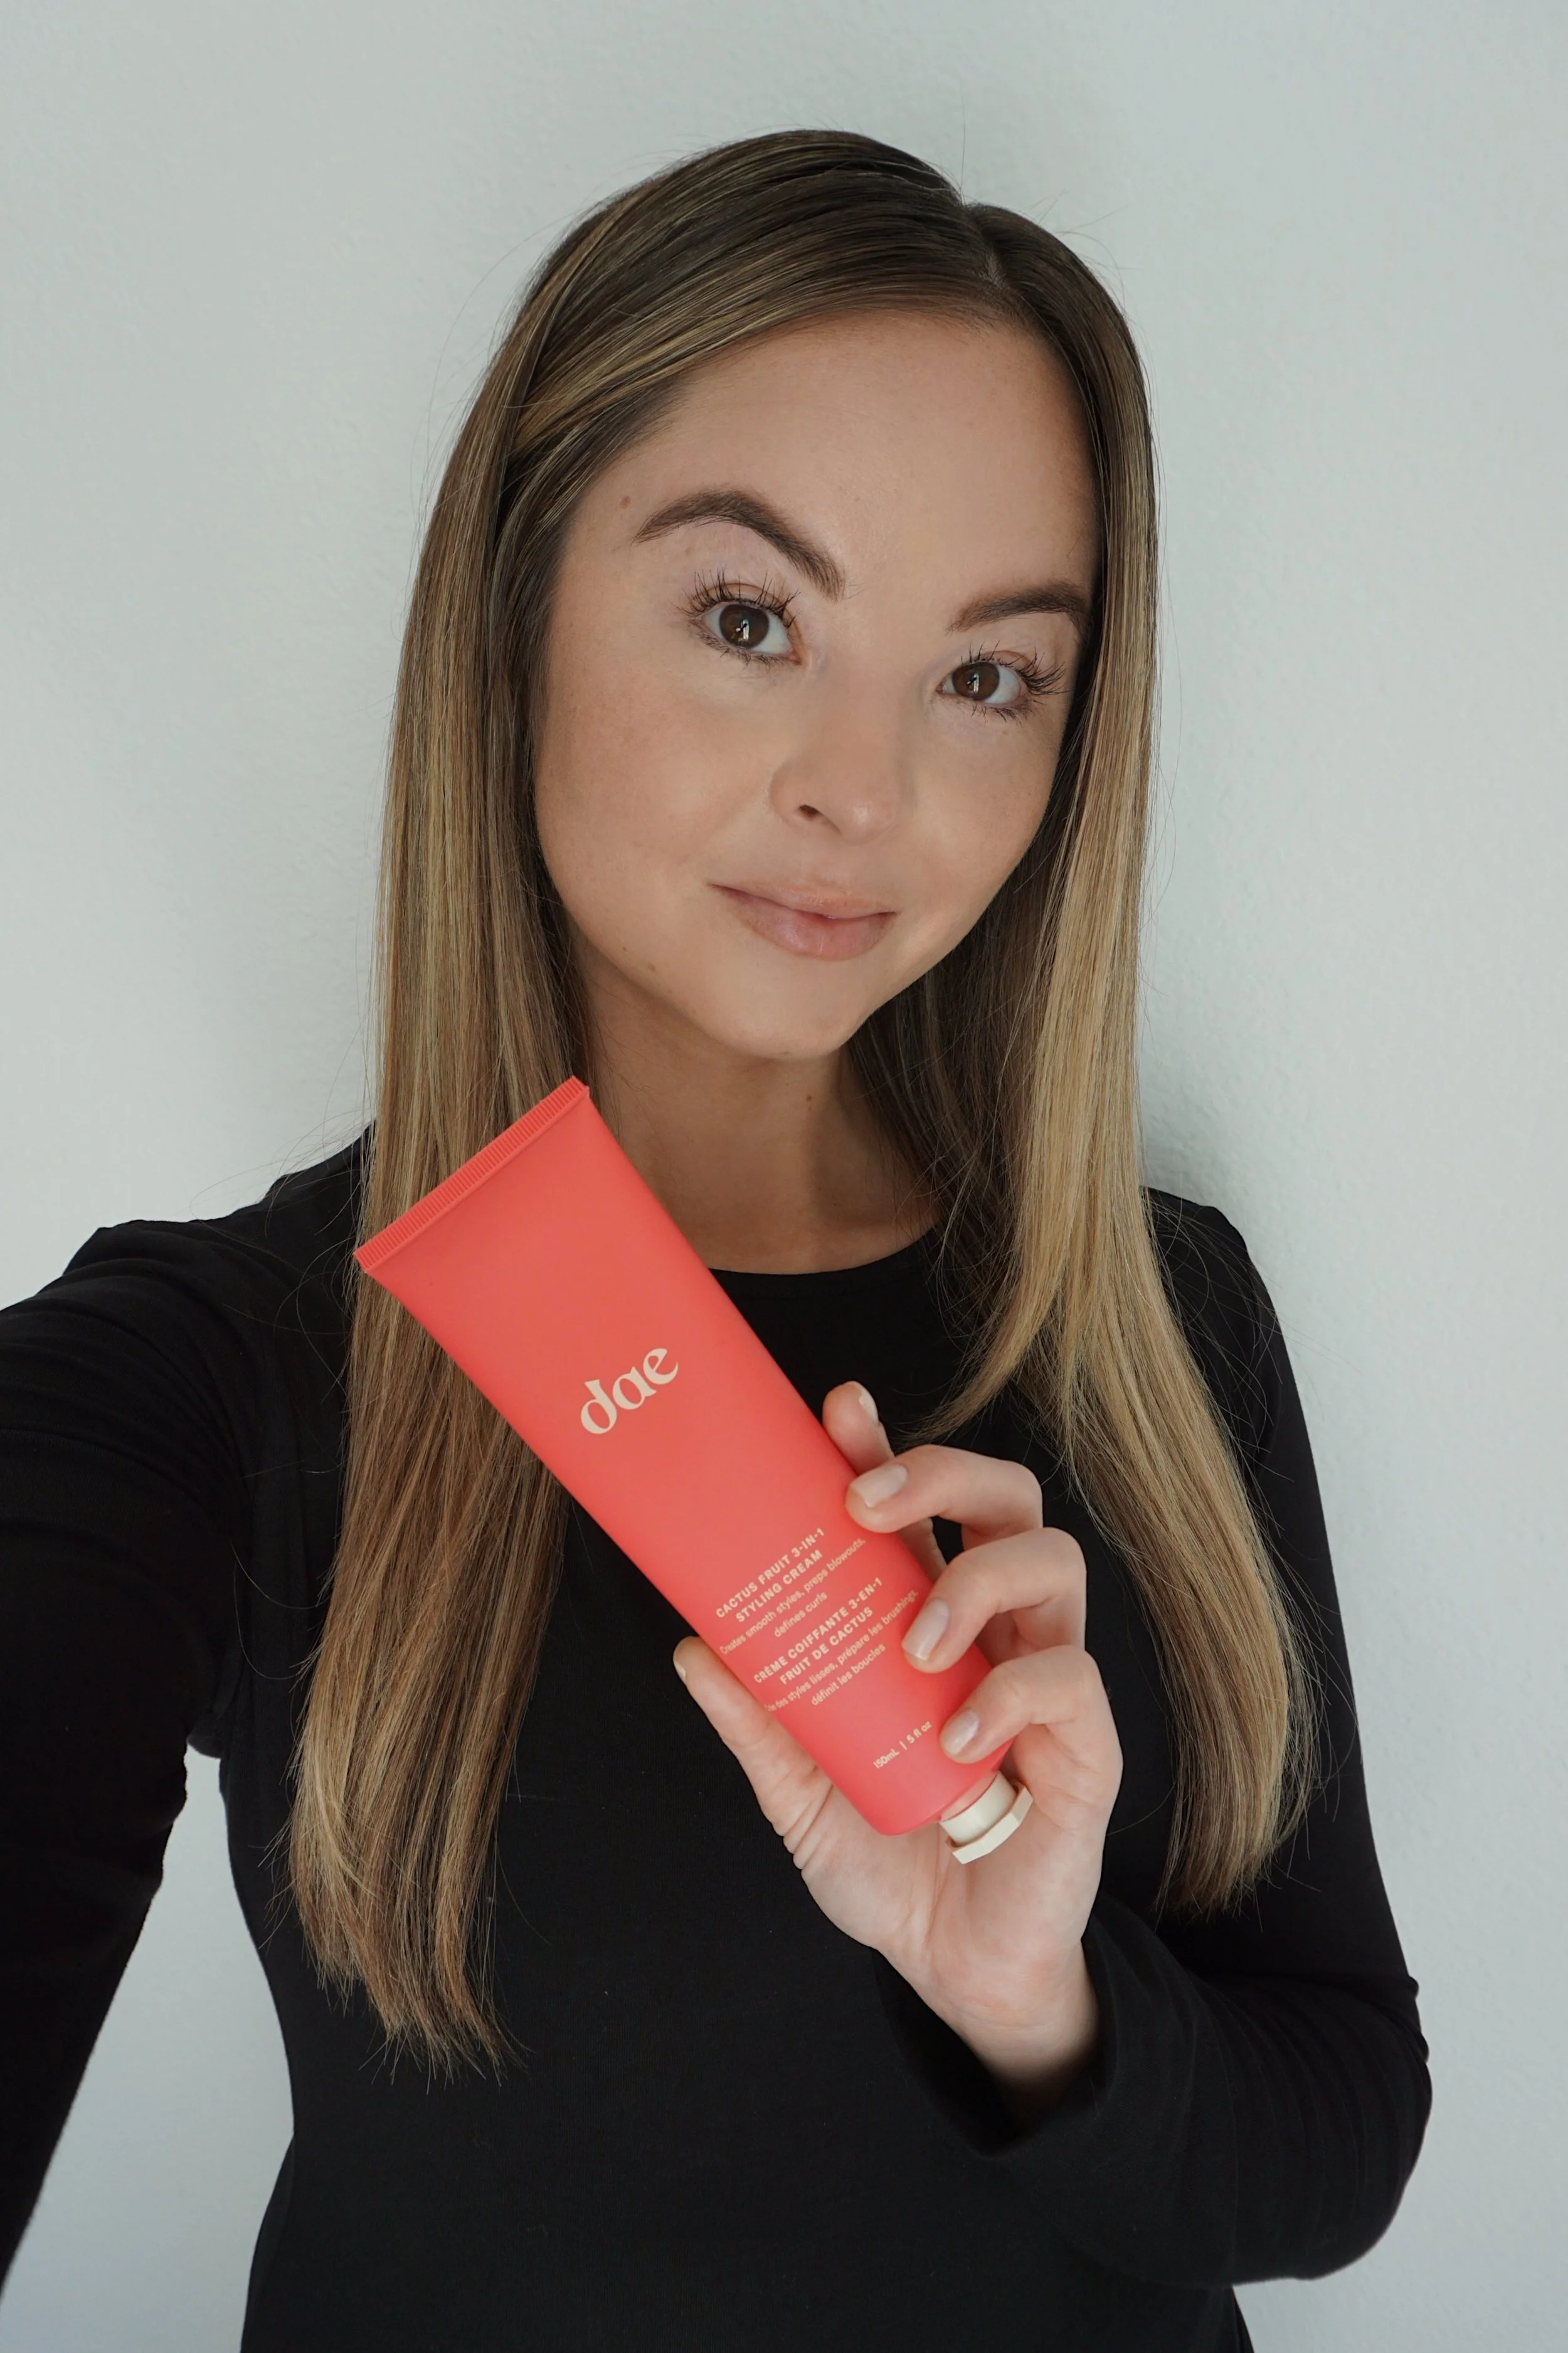
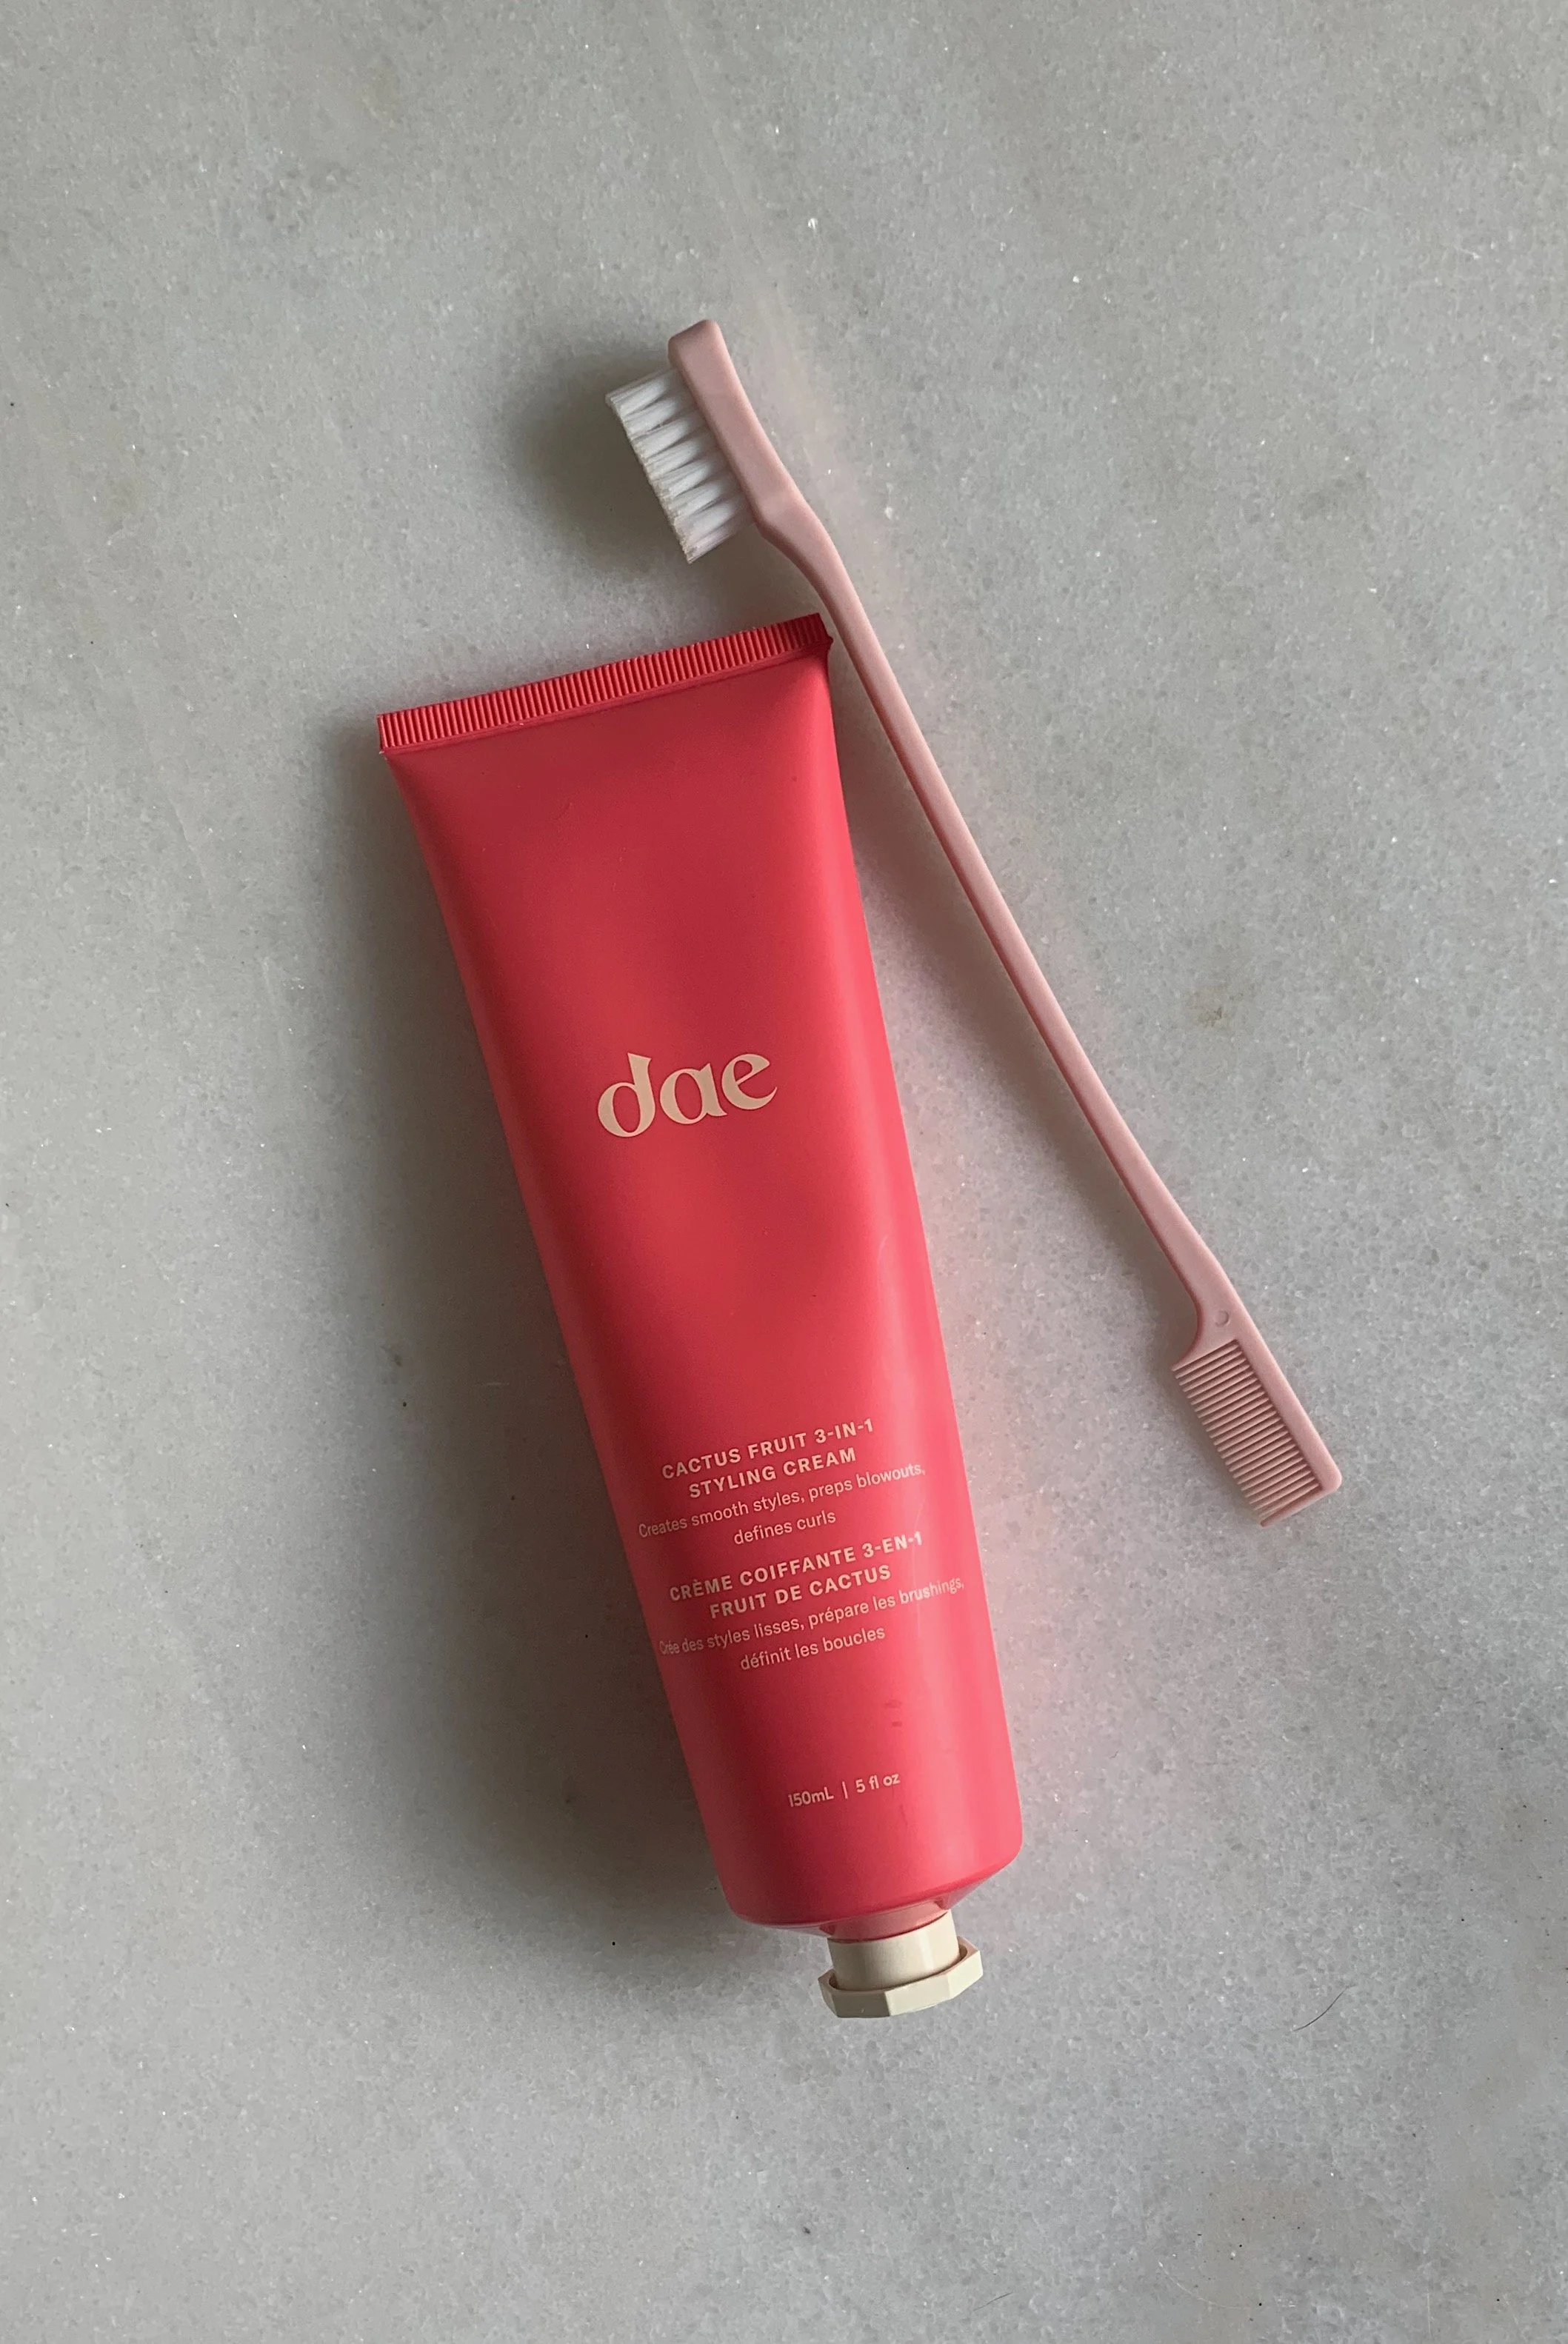
When I posted my full Dae 3-in-1 Styling Cream Review, I was surprised to get a few emails from girls who struggled to get the cream to work. Dae is known for easy-to-use, effortless hair products, and the Styling Cream is a cult-favorite. I’m a huge fan of the product, and I want others who try it to have a great experience as well, so I’ve created a full guide on how to use the Dae 3-in-1 Styling Cream.
Whether you want to use it on damp or dry hair, simply tame flyaways, or create a slicked-back style, here are my best tips, tricks, mistakes to avoid, and advice to get the most out of the Dae 3-in-1 Styling Cream.
how to use dae 3-in-1 styling cream (step-by-step guide)
For a quick answer, to use Dae 3-in-1 Styling Cream, apply a small amount to damp hair from mid-lengths to ends, then air dry or style as usual. Keep in mind that while it will smooth frizz, tame flyaways, and add subtle shine, this is a soft-styler, so it works best for low-maintenance looks. It will help you achieve a slicked-back ponytail or bun, but if you need more structure or stronger, all-day hold, you may need traditional gel instead.
tips for best results
use the dae 3-in-1 styling cream as your base product
This should be your starter hair product, because it’s lightweight and a softer hold. You can always layer heavier styling products afterwards (like hairspray) for added structure or hold.
pair it with a heat protectant
If you are blow drying your hair, make sure to add in a heat protectant since this styling cream doesn’t offer heat protection. To ensure you aren’t weighing down your hair, especially if it is fine like mine, use a lightweight heat protectant for best results.
keep your routine simple
Dae is known for “your hair but better” results, and that’s especially true with the 3-in-1 Styling Cream; it works best on your hair when not overloaded with other products. If you need a heavy-duty look that lasts all night, use gel instead. But if you are looking for a little structure and sheen, you will get great results with the 3-in-1 Styling Cream alone. If anything, I will finish with a light mist of hairspray, but I recommend you keep it minimal when it comes to product combos if you’re using the styling cream. Let that be the star of the show :)
get the taming wand that comes with the 3-in-1 styling cream
I grew up thinking taming wands and those sorts of “add-on” tools were gimmicks and money grabs; I was definitely raised in a “just use a toothbrush, it’s cheaper” household. While I do find that you can still use a toothbrush as a cheap substitute, Dae’s taming wand is actually thoughtfully made and the bristles are arranged in a way that really tames flyaways and frizz without leaving your hair crunchy or sticky. It disperses the product perfectly, and I highly recommend getting it if you want to create slicked-back styles or deal with breakage or baby hairs around your part.
how much dae 3-in-1 styling cream should you use?
Dae’s Styling Cream is lightweight and won’t make your hair sticky or crunchy, but using too much can still weigh hair down. Start small; you can always add more later since it is a buildable formula. Based on your hair type, you should use:
Fine hair - a pea-sized amount
Medium hair - a dime-sized amount
Thick hair - a quarter-sized amount (or slightly more)
how to use dae 3-in-1 styling cream on damp hair
This is the most effective method. Damp hair absorbs product better than dry hair and is a little easier to work with, so if you are worried about using too much or ending up with sticky hair, use on damp hair until you feel more comfortable with the product.
step-by-step:
Start with towel-dried, damp hair.
Rub a small amount between your hands; the heat helps to activate the product and make it easier to use.
Apply from mid-lengths to ends.
Comb through (with hands or a comb) to ensure even distribution,
Style as desired:
Air dry for natural texture
Blow dry for a smoother finish
Pro tip: Avoid your roots unless you want a sleeker, flatter look. You can always go back and address your roots (especially if they’re prone to flyaways) once your hair dries.
how to use it for slicked-back ponytails and buns
You can start with damp or dry hair; do whatever you are most comfortable with. Damp hair is easier to style if your hair gets fussy when it air-dries, you may prefer starting with dry hair.
Pro tip: If you are starting with dry hair, you may want to go back and apply a light layer of the styling cream to damp hair and follow my “for damp hair” instructions for best results.
Brush out your hair and remove all tangles; give your hair the best “clean slate” starting point as far as bumps and tangles go.
Using your hands, apply a light layer of styling cream to your hair, focusing on roots to mid-lengths (the part of your hair you want to be slicked-back).
Use a teasing comb to brush your hair into the style (ponytail or bun). Secure with a hair tie.
You can also use a regular brush or comb; I prefer the bristles of a teasing comb because they get all my baby hairs and give me a smoother, slicked-back look since they don’t leave comb marks in my fine hair.
Go back with the taming wand (or a toothbrush or your fingertips) to tame any bumps or flyaways.
If you need extra-hold, finish by spraying a light layer of hairspray.
how to use it for air-dried waves
If you want effortless, beachy texture:
Apply to damp hair
Scrunch upward
Let hair air dry
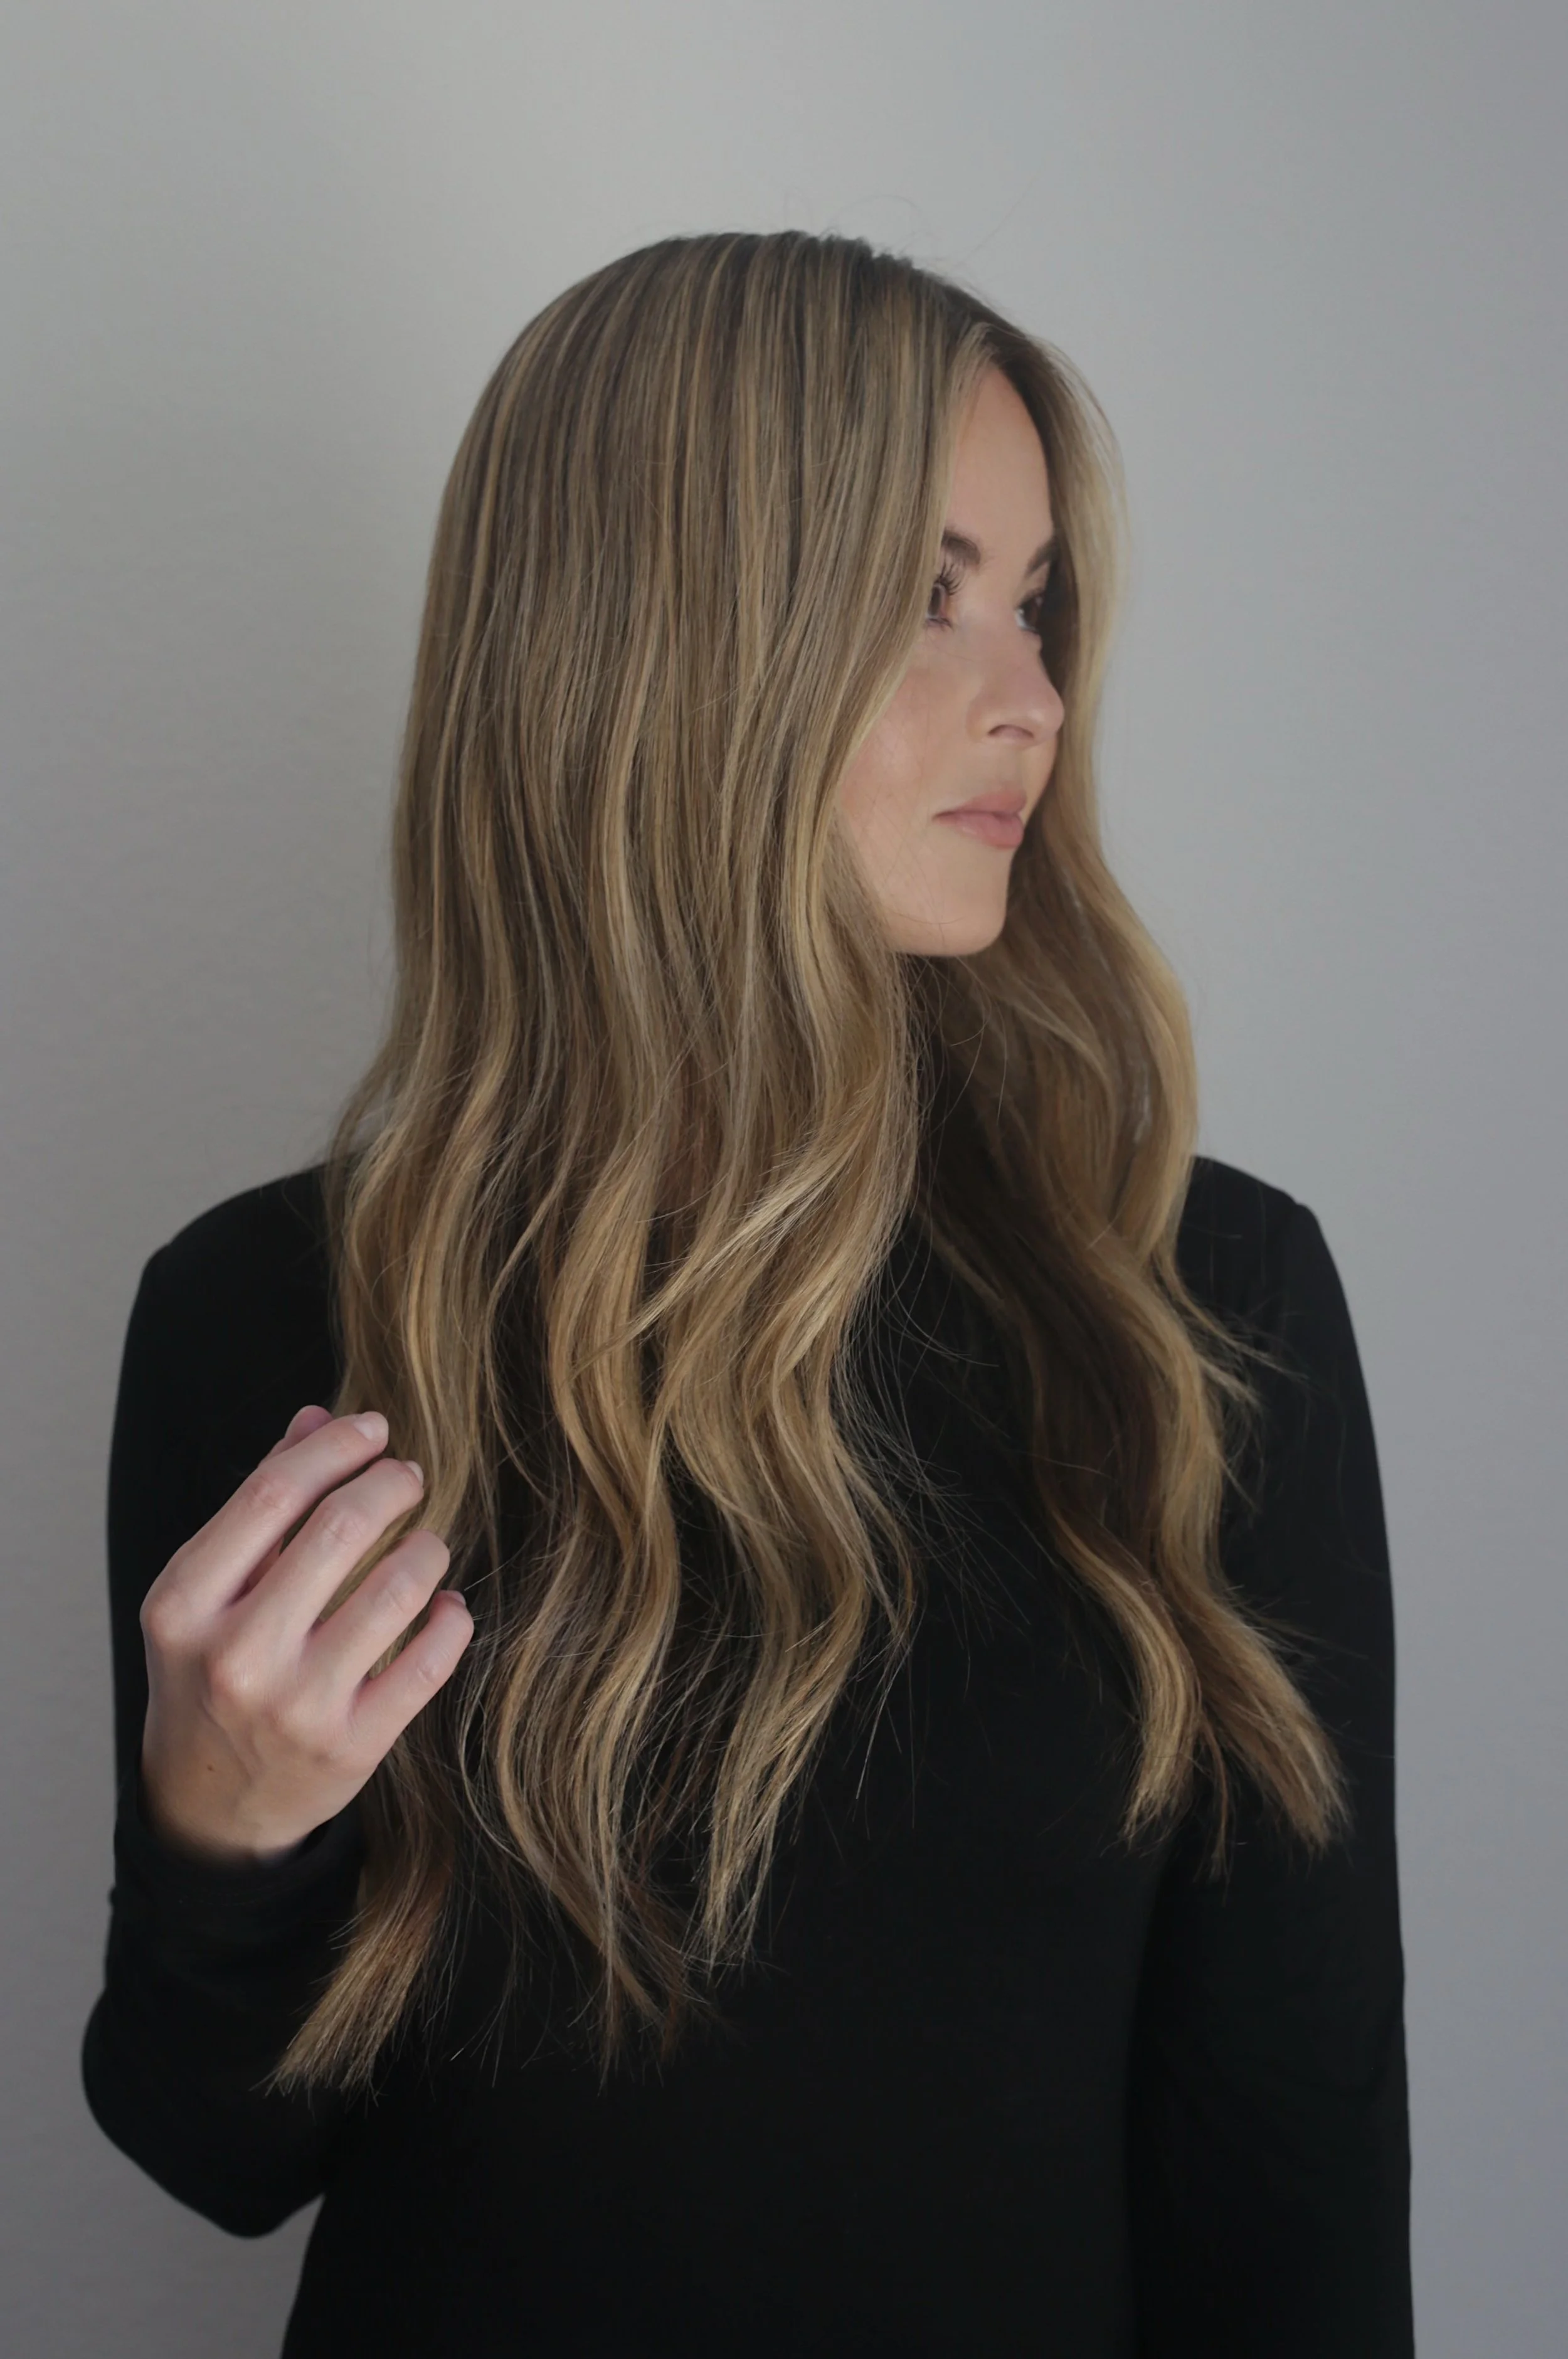
This enhances natural movement for those with natural bend, wave, or curl to your hair while keeping frizz under control. That said, this won’t work on straight hair. In that case, I recommend using wave spray - check out my full review of Dae’s Hibiscus Wave Spray on my naturally straight hair for more information and styling tips.
how to use it for blowouts
For a soft, polished finish:
Apply to damp hair.
Blow dry with a brush.
As a finishing touch, add a tiny amount after styling to smooth flyaways
This gives you soft, touchable blowouts. You’ll have a little bounce, and “your hair but better” texture, rather than stiff or overly styled hair.
how to use it on dry hair
The Dae 3-in-1 Styling Cream can be used on dry hair as a finishing product to add shine and tame frizz throughout the day.
Remember that dry hair doesn’t absorb product as well as damp hair, so start with a very small amount to avoid buildup.
To use with the taming wand:
Direct the taming wand in a downward motion wherever you have flyaways, frizz, or want more shine. You don’t have to brush the wand from root to end; if you find your hair gets “caught” at the midway point, smooth it with your hands.
To use without the taming wand:
Warm the product in between your hands to make it easier to work with.
Using light to little pressure, apply where needed.
If you find your hair feels crunchy or sticky, you can brush through with your fingers or a brush.
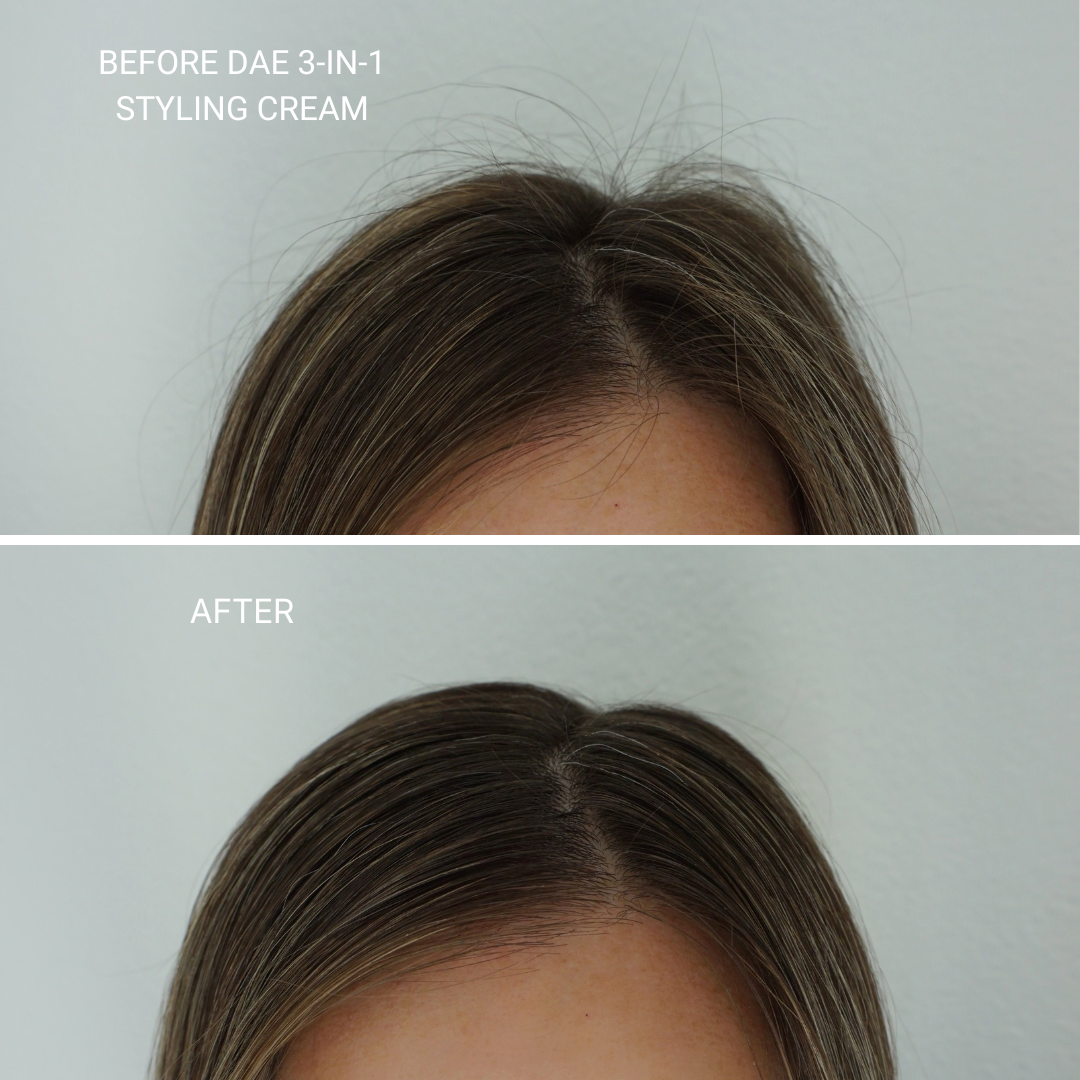
how to use dae 3-in-1 styling cream to tame frizz and smooth flyaways
This is my favorite way to use the Dae 3-in-1 Styling Cream, and I do this basically every day. If you’re already using the cream on damp hair, you may not need to do this, but anytime I have dry hair, I do.
If you have the taming wand:
Directly from the tube, use the taming wand like a comb and start at the roots (close to your part).
Brush downwards with light to little pressure. You don't have to brush to the ends of your hair; I usually go a few inches down. If your hair feels like it gets “caught” as a result of not brushing all the way to the ends, just use your hands to smooth it out.
As a finishing touch, I’ll go back with my hands to ensure all of the frizz and flyaways and smoothed out/ down.
If you don’t have the taming wand:
Start with a barely pea-sized amount on your fingertips or applied to a toothbrush.
If you use a toothbrush, disperse the product evenly (flat layer covering all bristles, rather than a rounded pea-sized amount).
Use your fingertips, or apply the toothbrush from roots in a downward motion. Again, you don’t need to brush to the ends of your hair; focus primarily on the roots to just a few inches below (eye-level).
You can go back with your hands to smooth your hair out again, and make sure the product is evenly dispersed.
common mistakes to avoid
There’s nothing worse than buying a new hair product (especially one that is raved about) and being frustrated by the learning curve or results you’re getting. I truly believe that the Dae 3-in-1 Styling Cream is easy to use for all hair types, but to help with the learning curve, keep these tips in mind:
don’t use too much product
A little goes a long way, especially when it comes to styling creams like this one. Start small; you can always add more later, but using too much initially can make your hair feel heavy. And while it may seem like more product = more hold, the opposite is true and using too much makes it harder to style your hair the way you want to.
avoid applying too close to the roots if you have fine hair
I have fine hair, and I love this product for taming flyaways at my roots. That said, if your hair is easily weighed down, add a little space between your roots and the product application. you can always go back and add more later, but if your hair is looking (and feeling) greasy rather than slicked, you may be applying the product too high up.
remember this is a soft styler, not strong-hold
Yes, the Dae 3-in-1 Styling Cream is meant to help you create slicked-back ponytails, but it also prioritizes natural, soft, touchable texture. If you want a truly slicked-back style that will make it through a wind tunnel (or 12-hour day), you may prefer a strong-hold hairspray instead.
Another way to make the 3-in-1 Styling Cream work for you: use the styling cream to create the look, and then add hairspray as the strong-hold, finishing touch.
don’t layer with heavy oils
While hair oils add shine and seem like they’d help you achieve a slicked-back bun, they actually work against styling creams because they take away your hair’s ability to grip. Keep in mind that the 3-in-1 Styling Cream is formulated to add subtle shine to your hair, so you may not need a hair oil at all. If anything, use the styling cream first and then finish with an oil, focusing primarily on your ends rather than your roots. If you are wanting extra-shine, try using a shine-enhancing hairspray rather than a hair oil as your last step.
Texturizing spray vs hairspray: the ultimate guide on when to use each, hold level, volume, texture, and which is best for your hair type