How to Use Texturizing Spray for Beachy, Voluminous Hair
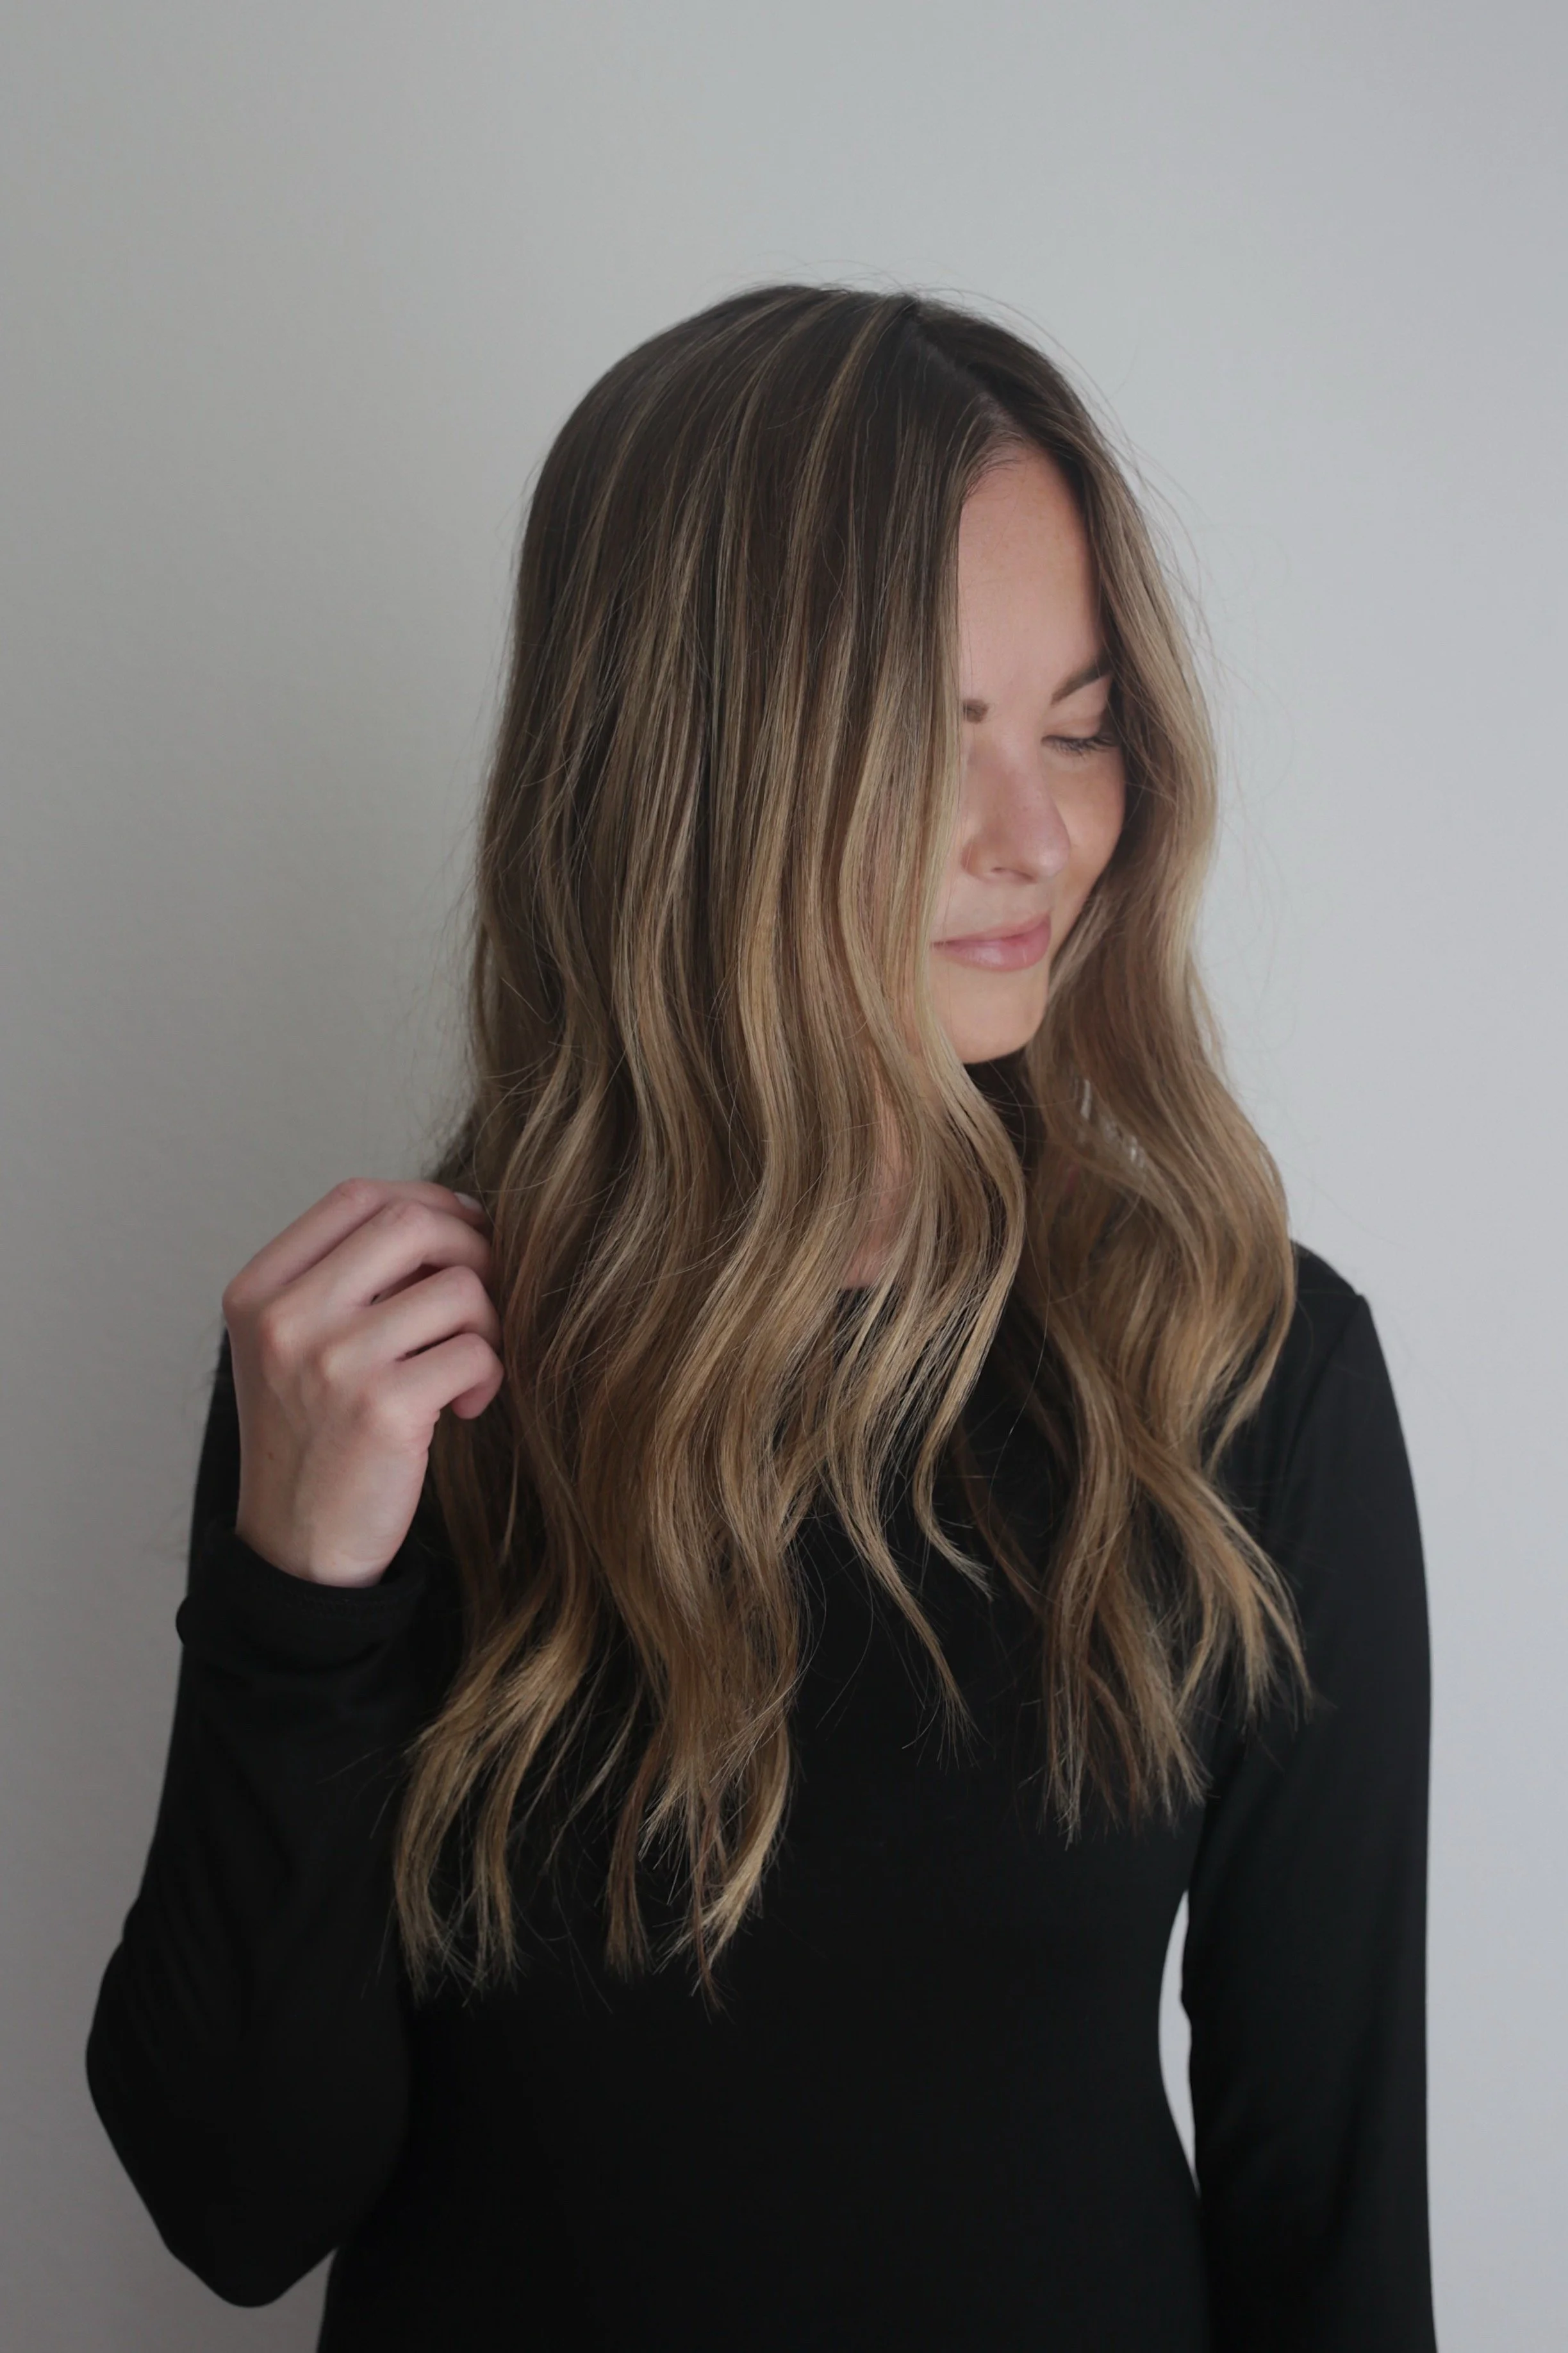
Texturizing spray is one of those hair products that can completely change the look of your hair, but it's easy to use too much or apply it incorrectly. Unlike hairspray, which holds your hairstyle in place, texturizing spray adds texture, volume and grip while giving hair a more effortless, intentionally undone finish.
I've found texturizing spray particularly useful when I want my hair to look fuller and more lived-in without feeling stiff or overly styled. It can be used on straight hair, wavy hair or hair you've curled with a curling iron or wand.
In this guide, I share exactly how to use texturizing spray, where to apply it, how much to use, when to apply it and how to get the most volume and texture without ending up with stiff or sticky hair. I’ve also included my before-and-after results and tips for using texturizing spray on fine hair.
how to use texturizing spray for beachy, voluminous hair
Texturizing spray adds grip, texture and volume to the hair. Depending on the formula, it can help create beachy waves, make curls look more piecey, add body to straight hair and give hairstyles a little more hold.
It's especially useful when your hair is very smooth or slippery and hairstyles tend to fall flat quickly. The added texture gives the hair more grip, which can make curls and waves easier to style and help them last longer.
Texturizing spray can also be used as a finishing product when you want your hair to look less polished and more effortless - think perfectly undone Olsen twin hair rather than a shiny blowout.
1. start with dry hair
With most texturizing sprays, you'll want to start with dry hair.
You can apply it to freshly blow-dried hair or use it on hair you've already curled or waved. Starting with dry hair allows you to see exactly how much texture and volume you're adding as you go.
If your product specifically says it can be used on damp hair, follow those directions, but if your texturizing spray can be applied on damp or dry hair stick with dry. In my experience, that helps you get the best results.
One note: if you have straight hair (like me) and want beach waves, you will want to curl your hair (or wave it) prior to adding texturizing spray. The spray alone won’t give you tons of big texture; it more so enhances what is already there.
2. shake the bottle
As someone who forgets the details, I wanted to include this step, though it may be obvious to some of you.
It’s actually important to give your texturizing spray bottle a good shake before you use it because ,any texturizing sprays contain ingredients that can settle between uses. Shaking helps distribute the formula evenly. This can make a difference in how consistently the product sprays onto your hair.
3. section your hair
You don't need to create perfectly even sections, but separating your hair makes it easier to distribute the product.
For more volume, start with the underneath layers and work your way toward the top.
If you're mainly using texturizing spray to enhance waves or curls, you can work in smaller sections, focusing on the top layers or individual pieces of hair for a piece-y look.
4. spray from a distance
Hold the bottle several inches away from your hair. You want to lightly mist the product over the section rather than saturating it.
The goal is to build texture gradually. You can always add more, but it's much harder to fix hair that's become overly stiff or sticky from too much product. And unlike hairspray, you won’t really want to brush out texture spray if you spray too much; it’ll undo all of the styling you’ve done.
5. focus on the mid-lengths and ends
At least as you’re starting out, concentrate the texturizing spray on your mid-lengths and ends. This is where you'll get the most benefit from added texture and grip, especially if you're trying to create beachy waves or enhance curls.
From there, I will apply the whatever product is leftover on my hands to my roots. If you have fine or flat hair, you won’t want to apply texturizing spray to your roots until the very end.
6. scrunch or tousle your hair
Once you've applied the spray, use your hands to work it through your hair.
For waves, scrunch your hair upward to encourage the natural texture.
If you’ve curled your hair, gently separate and tousle the curls with your fingers for a piece-y look. I also like to twist a few random tiny strands, or rub them between my fingers for a messier, boho look.
If you have straight hair, use your fingers to lift and separate the hair so the product can create more body and movement.
7. add more product if needed
As I mentioned, you want to initially start with less than you think you need. Once you have styled your hair, give the texturizing spray a minute to settle into your hair before deciding whether you need more.
If your hair still looks flat or lacks texture, add another light layer rather than spraying a large amount all at once.
PS: this is where I will do a light spritz on my roots if needed!
how much texturizing spray should you use?
There's no universal amount because it depends on your hair length, thickness and the specific product you're using.
As a starting point:
Fine hair - start with a few light sprays. I typically do left side, right side, and middle.
Medium hair - use a little more product, working in sections. You can do vertical sections like I mentioned above, but if your hair is medium-thick, you might find it easier to do the bottom layer, then middle section, then the top layers.
Thick or long hair - work in sections so the product is distributed evenly. You may need additional product to reach all of your layers.
Short hair - start with a small amount and focus on the areas where you want texture. I sometimes like to spray my hands, and then apply the texturizing spray manually so I don’t accidentally overdo it!
If your hair starts feeling sticky, stiff or overly gritty, you've probably used too much.
texturizing spray before and after results
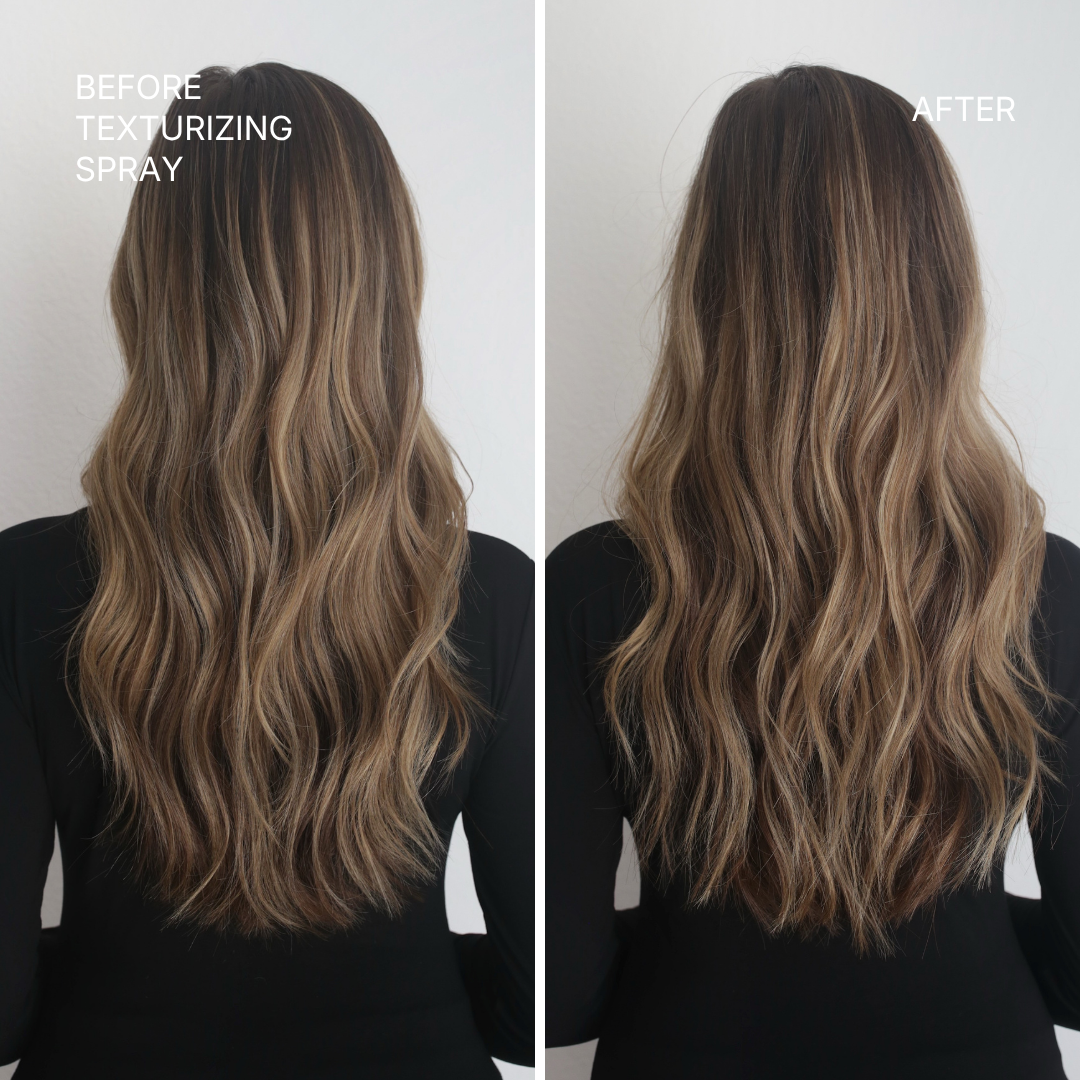
how to use texturizing spray for volume
If your main goal is volume:
Lift a section of hair.
Lightly spray underneath the section near the roots.
Let it dry for a few seconds.
Massage or tousle the roots with your fingers.
Repeat around the crown and sides of your head.
You don't need to spray your entire scalp; I focus on face-framing pieces and the pieces around my part. Concentrating the product where you actually want lift will help prevent your hair from becoming unnecessarily gritty.
how to use texturizing spray for beachy waves
Texturizing spray is particularly popular for creating that loose, beachy look.
If you're starting with naturally wavy hair:
Apply texturizing spray to dry hair.
Concentrate on the mid-lengths and ends.
Scrunch your hair with your hands.
Twist a few individual pieces if you want more definition.
Let the product dry completely.
Gently separate the waves with your fingers.
If you have straight hair like me, I highly recommend creating waves with a curling iron or wand first (that’s what I did in the photos I’ve shared). Then, apply the texturizing spray after curling for a more piecey, undone finish.
how to use texturizing spray on fine hair
Texturizing spray can be especially useful for fine hair because it adds grip and body without necessarily requiring a heavy styling product. Over time I’ve found that my hair prefers texturizing spray over hair spray, especially for daily styling.
That said, fine hair can also become weighed down or feel gritty more quickly, so start with a very small amount.
For fine hair:
Start with just a few sprays.
Focus on the mid-lengths, ends and crown.
Avoid saturating the roots.
Let the product dry before adding more.
Use your fingers to separate and lift the hair.
Add another light layer only if necessary.
If your fine hair tends to fall flat after curling, texturizing spray can also help give the curls more grip and make them look fuller.
common texturizing spray mistakes
using too much product
This is probably the easiest mistake to make, especially since texturing spray feels much lighter than traditional hairspray. Start small and build the product gradually.
spraying too close to your hair
Holding the bottle too close can concentrate too much product in one spot. It’s annoying; I never follow this rule when it comes to hairspray, but it’s worth the hassle for texturizing spray.
applying it everywhere
You don't really need texturizing spray from your roots to your ends. Focus on the areas where you actually want texture or volume. A little goes a long way!
expecting it to act like hairspray
Texturizing spray can provide some hold, but it's primarily a texture and volume product. Texturizing spray and hairspray aren't interchangeable.
You can use both if you want texture and stronger hold. I'd typically use texturizing spray to create the texture and hairspray as the final step if I need additional hold.
For a detailed comparison of their strengths (and weaknesses), plus side-by-side comparison photos of their results, check out my guide, Texturizing Spray vs Hairspray.
expecting it to act like sea salt spray
These products can create similar effects, but they're not the same.
Sea salt spray tends to create a more distinctly beachy, gritty texture; texturizing spray can provide texture and volume with a softer or more flexible finish depending on the formula.
If your hair is already dry, you may prefer a texturizing spray over a traditional salt spray because some salt sprays can make hair feel particularly dry or rough. For more, see: Texturizing Spray vs Sea Salt Spray.
applying more before giving it time to work
One of the little tricks with texturizing spray is that the product really comes alive after it fully dries down; it’s a little more finicky than hairspray in that way.
If you can, wait a little before adding another layer; you may find that you already have enough product in your hair. I’m impatient by nature, so I force myself to wait by applying mascara or lip gloss, etc. while I let the texturizing spray really settle in.
my tips for using texturizing spray
Start with less product than you think you need.
Build texture gradually instead of applying a lot at once.
Focus on the mid-lengths and ends for beachy texture.
Apply to the roots strategically if volume is your goal.
It’s better to get the “money piece” layers right at your crown and one sections in the middle back (where your part kind of ends), rather than every top layer.
Scrunch after applying to enhance waves.
Alternate between twisting, pulling apart, and rubbing curls between your fingers to make them look more relaxed.
Use hairspray afterward if you need more hold.
Wash your hair regularly if you use a lot of texturizing products to prevent build-up.
I also recommend incorporating a clarifying shampoo every week (or every other week) if you aren’t already.
best texturizing spray for fine hair
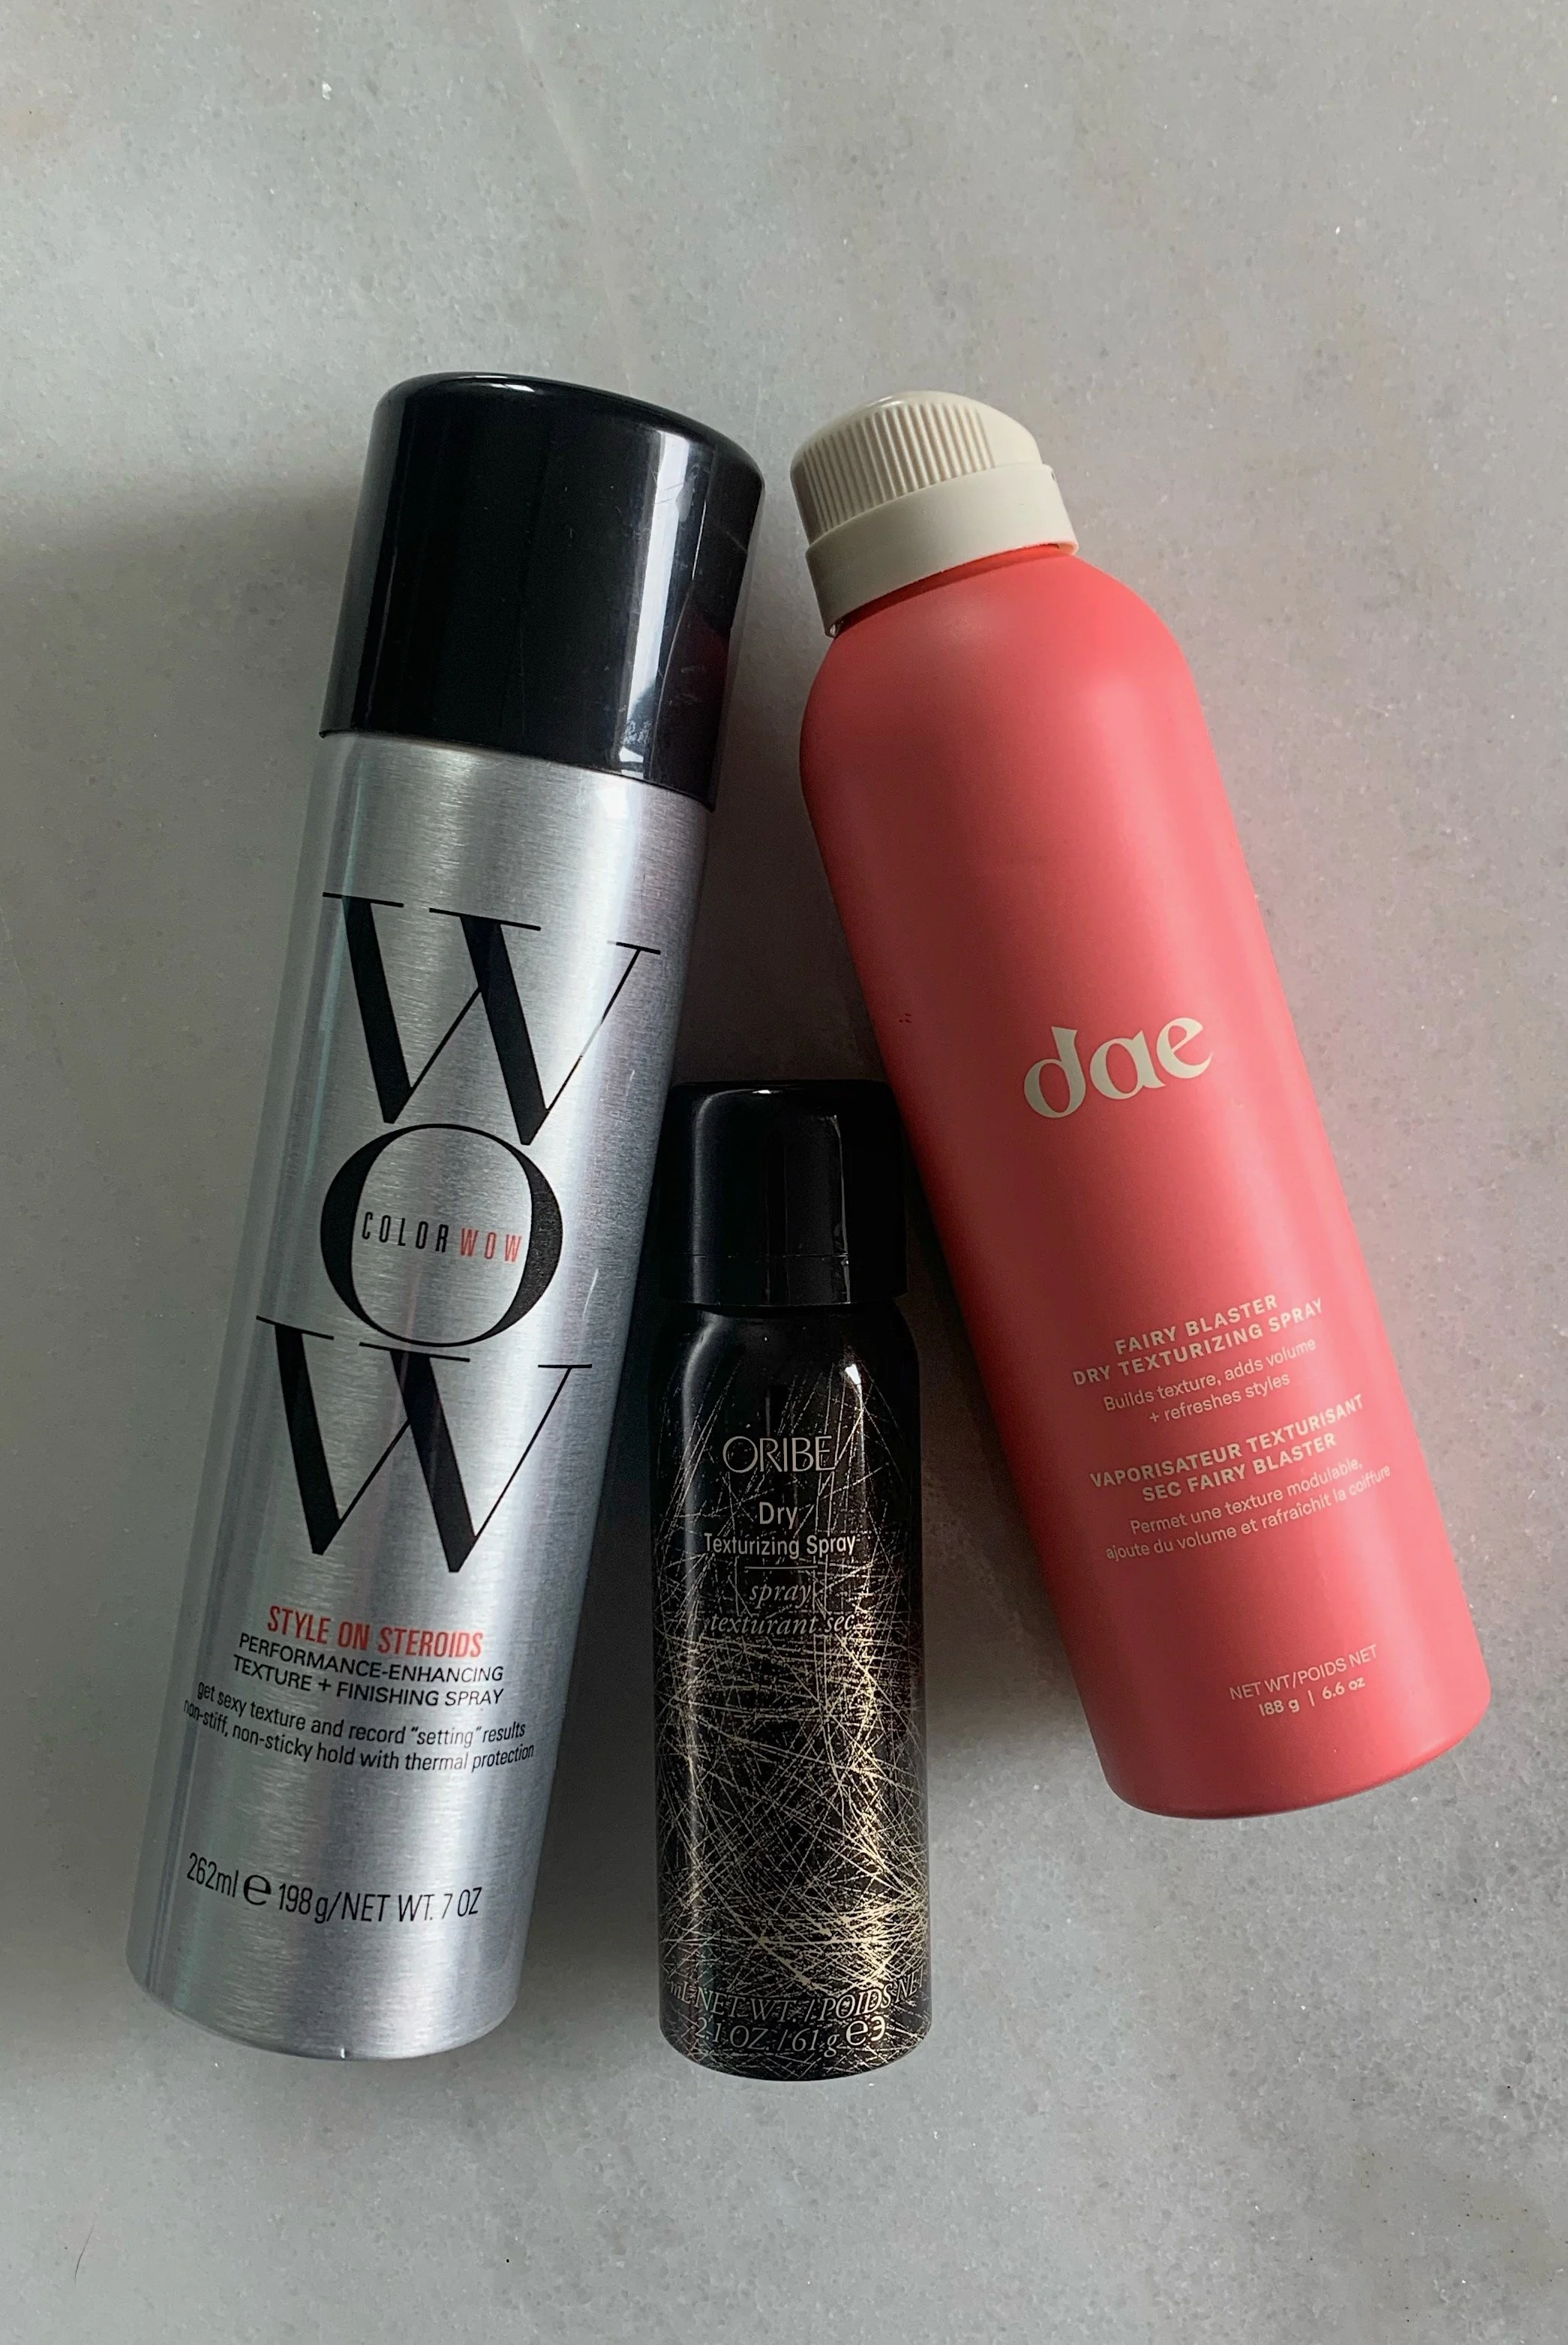
I've tested several texturizing products over the years. It’s no secret that Oribe’s is the most popular, but it’s also expensive! I also really like Dae’s texturizing spray, though the nozzle sometimes gets clogged and the citrus scent may be too strong for some.
Color Wow’s Style on Steroids is a great mid-priced texturizing spray that is lightweight enough for fine hair; it has a bit of hold so more often than not, I don’t have to also layer a hairspray on top. The scent is mild and it adds a little bit of shine, too.
frequently asked questions
how long does texturizing spray last?
Typically throughout the day, though it depends on your hair type, the product and the weather.
do you use texturizing spray on wet or dry hair?
Most texturizing sprays are designed to be used on dry hair.
where do you spray texturizing spray?
For texture, focus on the mid-lengths and ends of your hair. For volume, lightly spray near the roots and crown.
can you use texturizing spray on fine hair?
Yes; I have fine hair and love how texturizing spray adds lightweight grip and volume. That said, a little goes a long way, especially since fine hair feel weighed down more quickly.
does texturizing spray add volume?
Yes; lightly spray around the roots and crown, then tousle your hair with your fingers.
can you use texturizing spray before curling your hair?
You can, but make sure it has heat protectant beforehand. I personally find that texturizing spray works best as a finishing product after curling.
can you use texturizing spray every day?
You can, but I wouldn't necessarily use a large amount every day. Texturizing products can build up and may make hair feel dry or gritty over time, so if you use one frequently, make sure you're washing your hair regularly enough (or using a clarifying shampoo) to remove the product build-up.
is texturizing spray the same as hairspray?
No. Texturizing spray adds texture, grip and volume; hairspray is primarily designed to provide hold and keep a hairstyle in place. You can use them together if you want both texture and longer-lasting hold. See my Texturizing Spray vs Hairspray guide for more information.
do you need hairspray after texturizing spray?
Not necessarily, as some formulas contain long-lasting ingredients. If your hair tends to fall flat or you need it to last longer (like for a special event), you can finish with a light layer of hairspray.
does texturizing spray damage hair?
Not initially, but it can be over time as some formulas can make hair feel dry or gritty, especially if you use them frequently over time. If you have dry, bleached or damaged hair, use sparingly and make sure to add hydration back to your hair with a weekly hair mask.
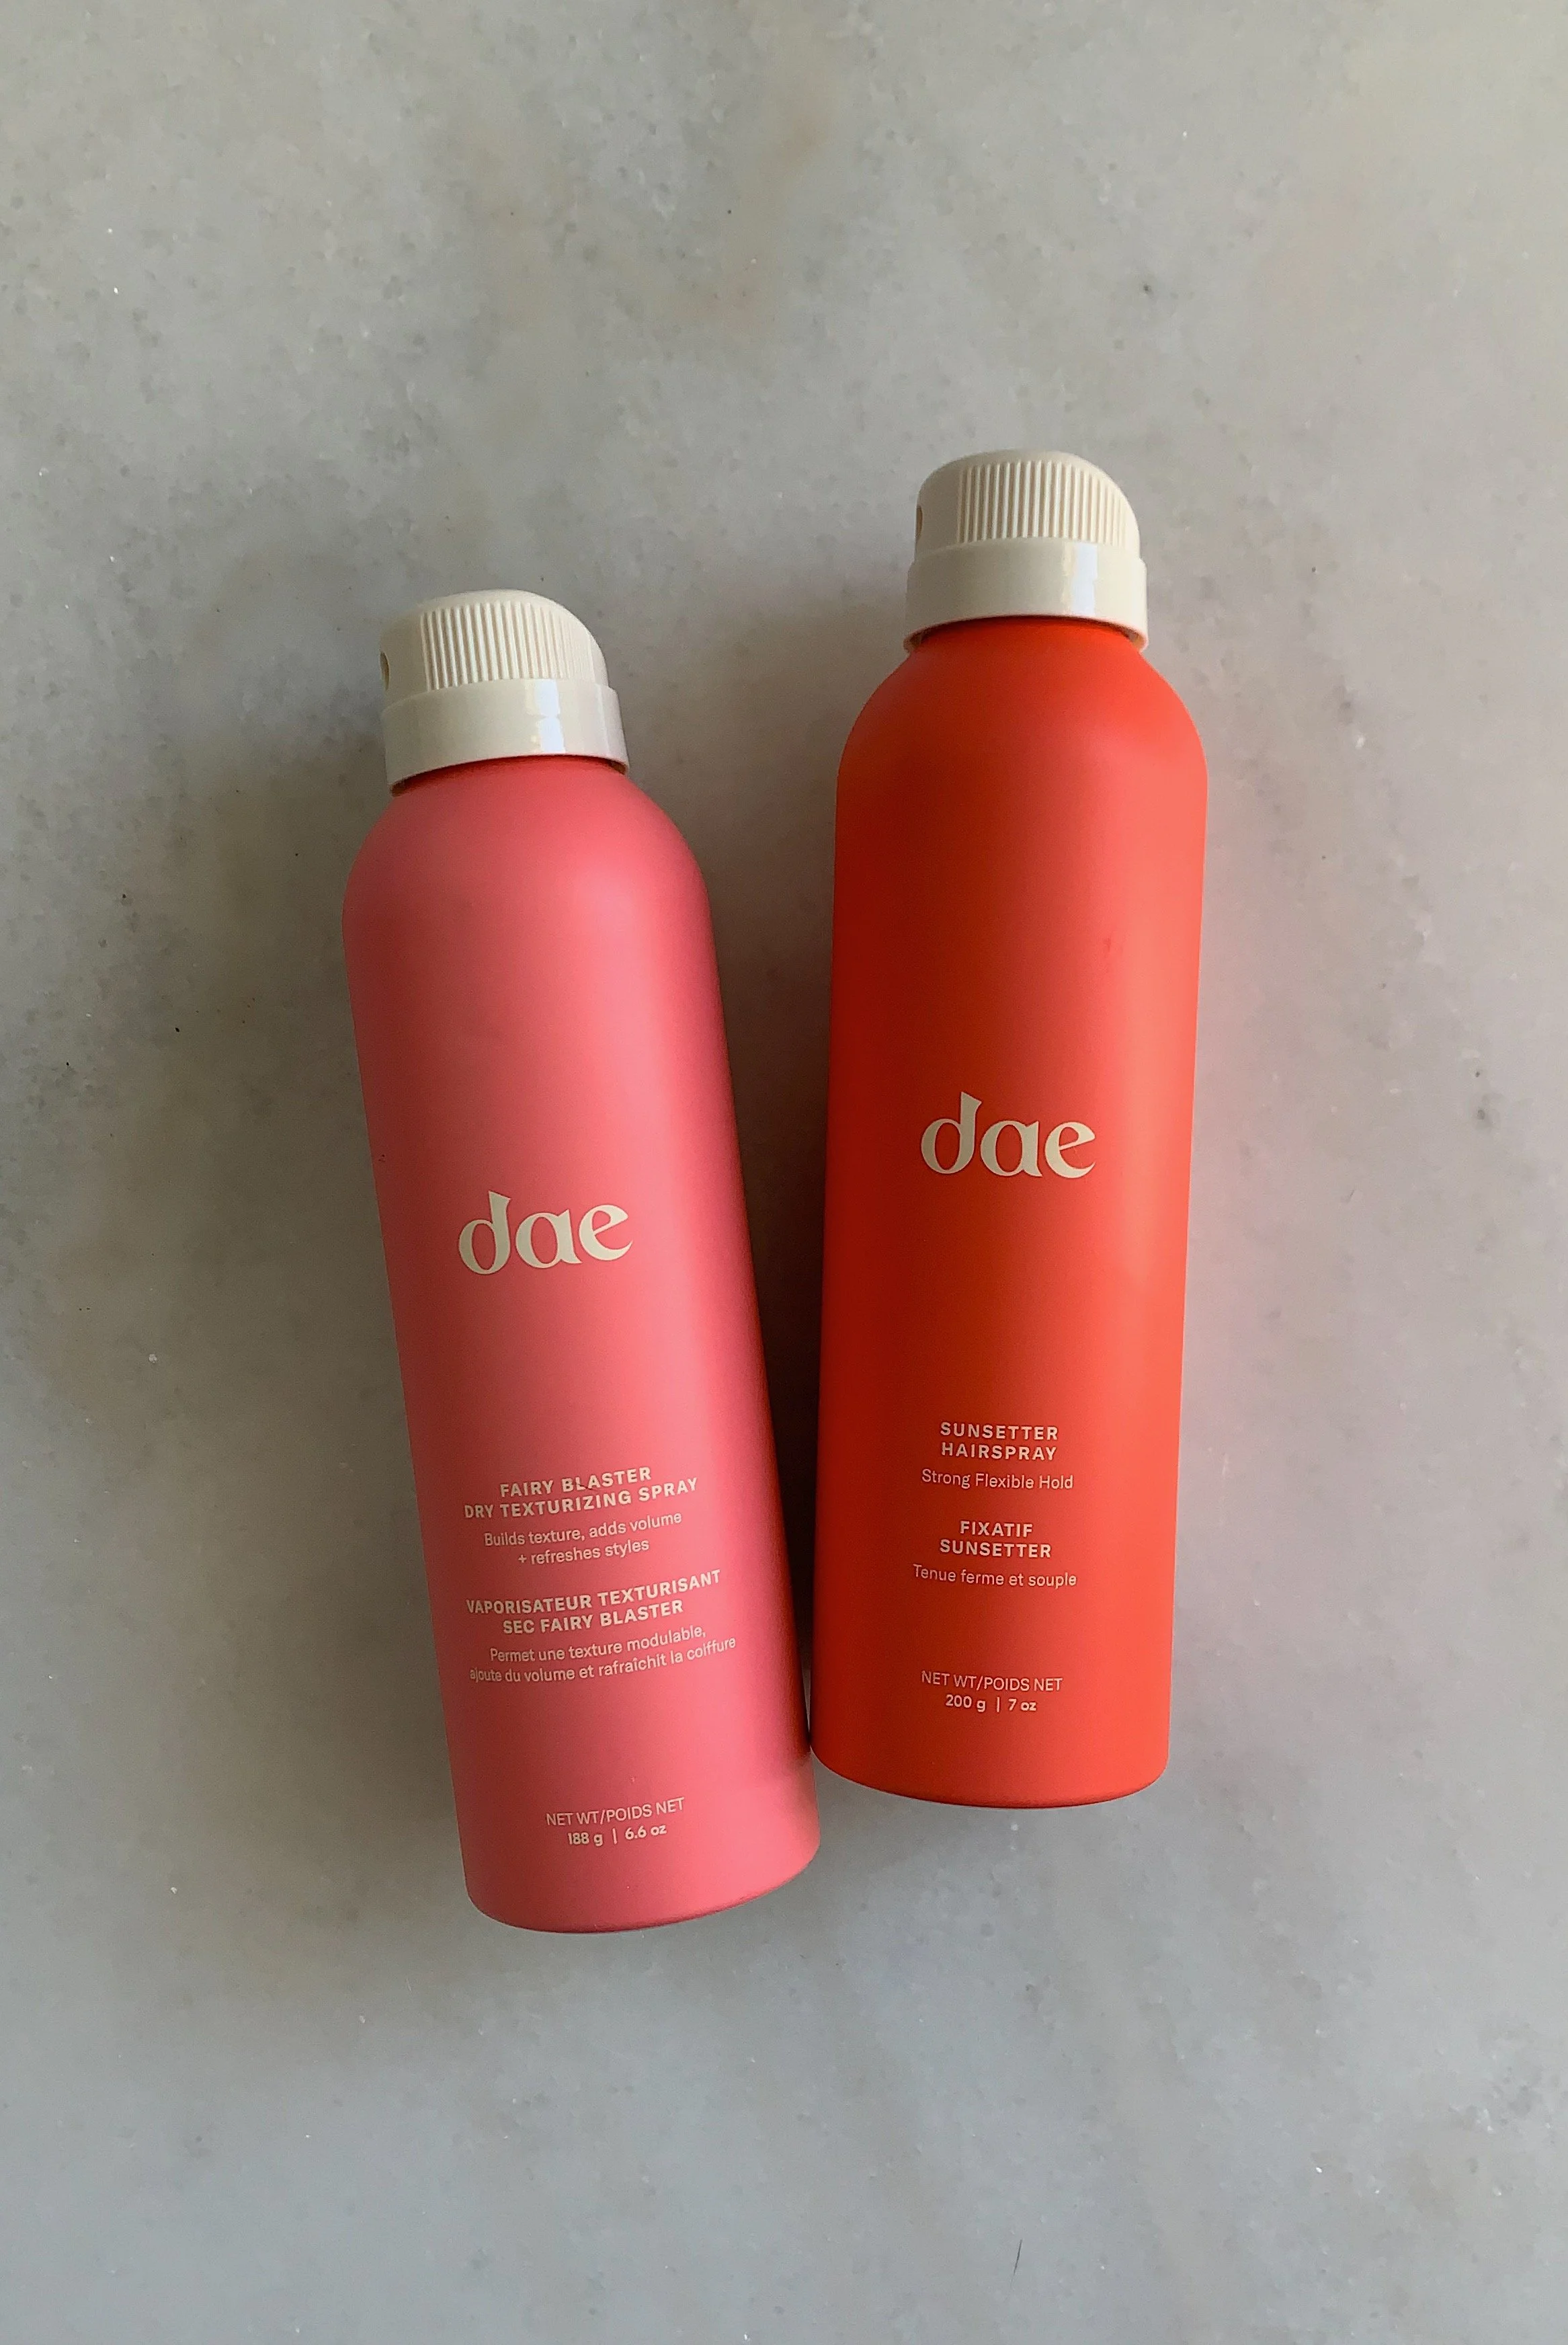
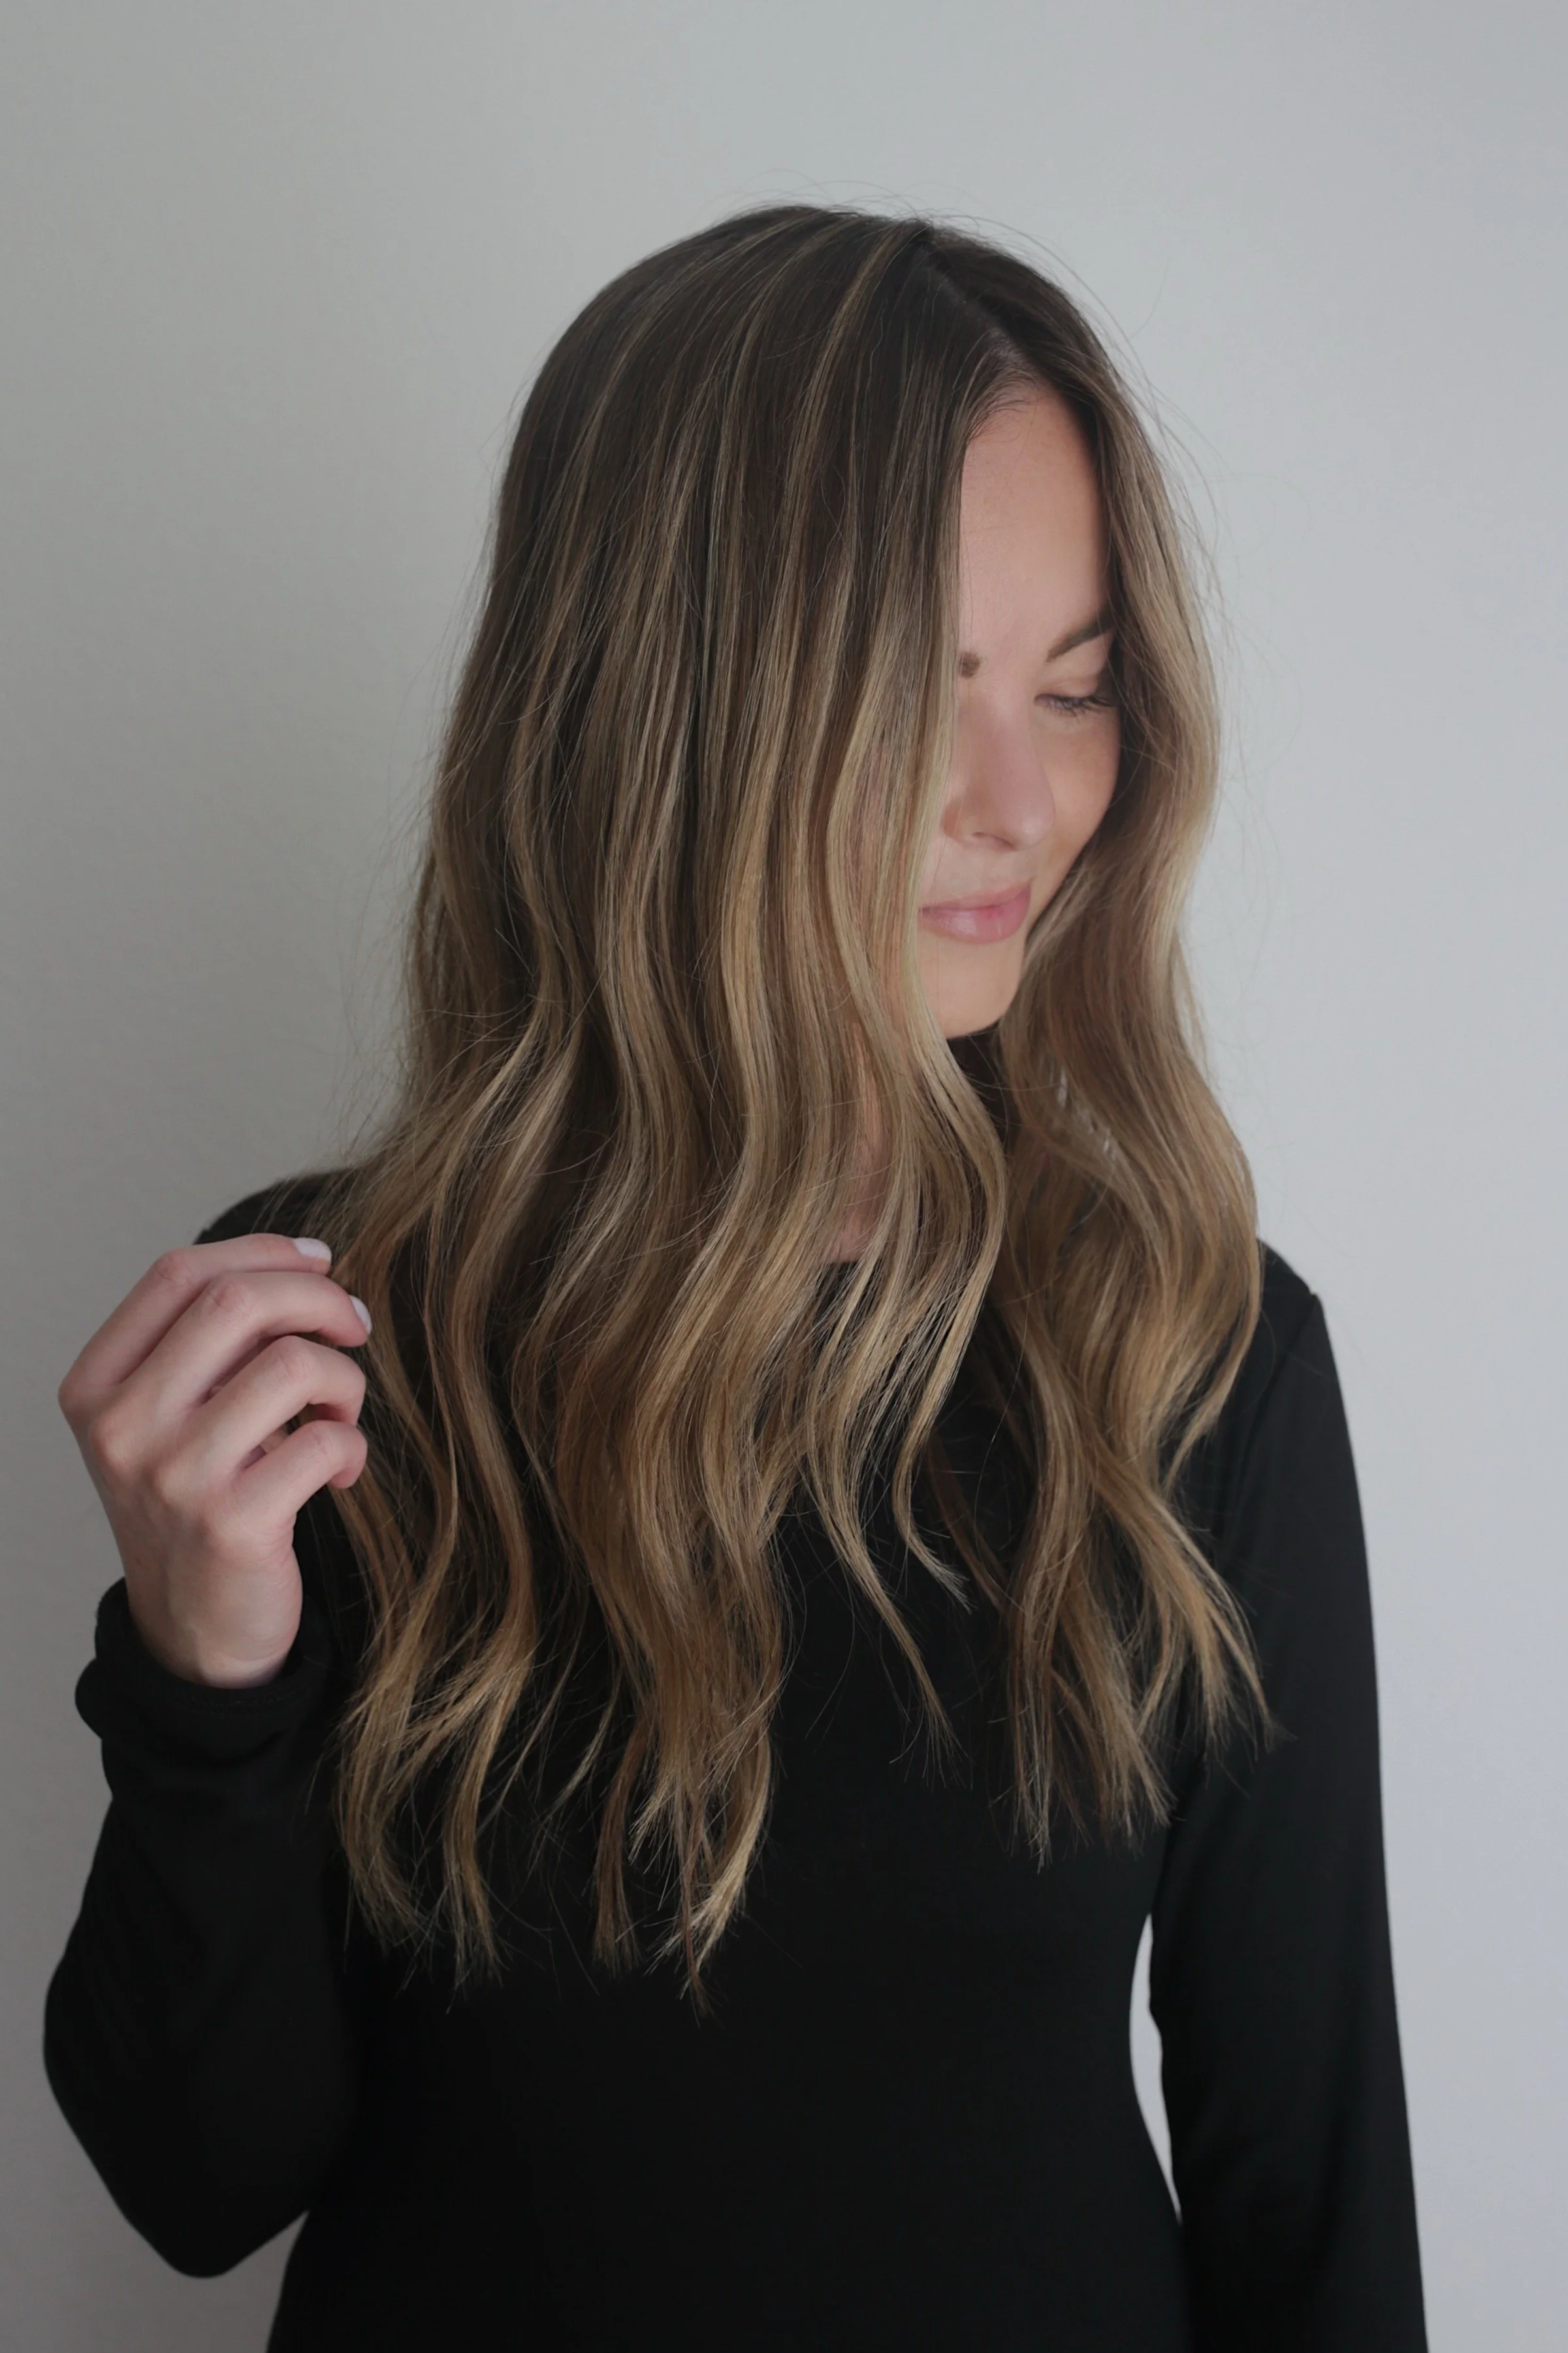
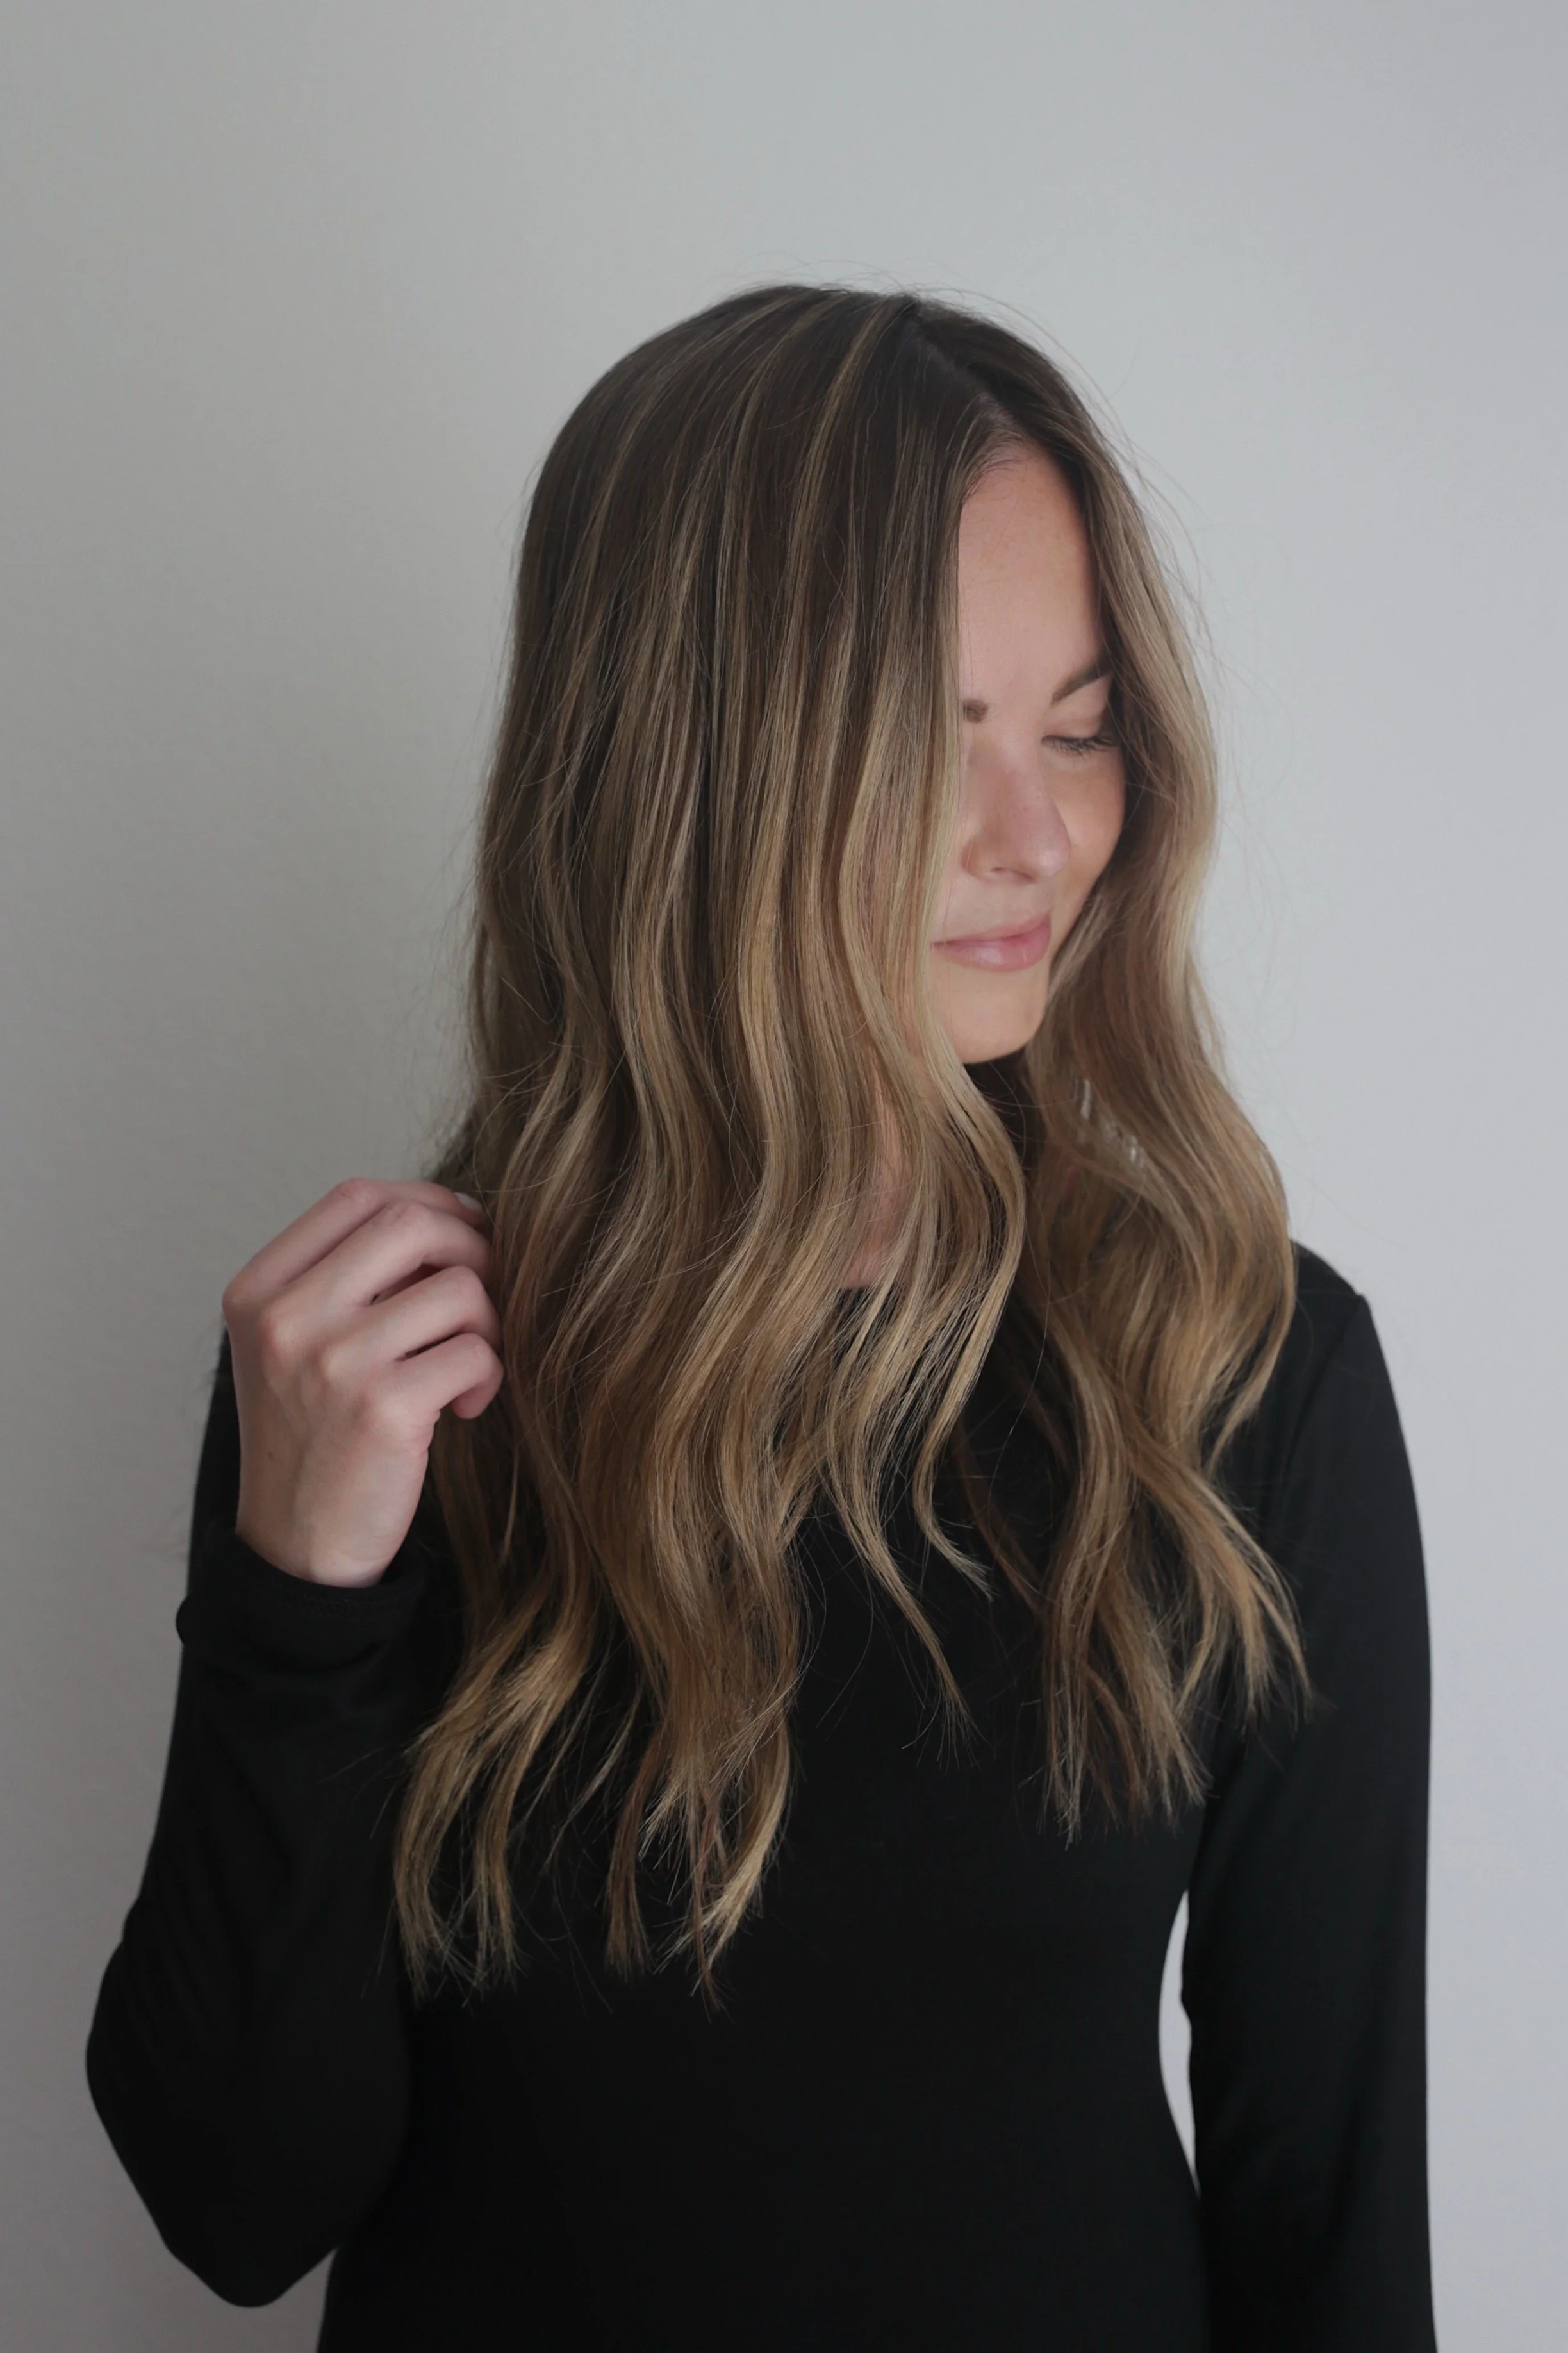
Full comparison and side by side results of the Color Wow Style on Steroids vs normal texturizing spray. Which is best for volume, hold, texture, shine, and fine hair.